Browse every Figma plugin
A curated catalog of community plugins — search by name, browse by category, and open the ones that fit your workflow.
Remove BG
Remove the background of images automatically with just a single click.
by Aaron Iker
Mockup Plugin – Devices Mockups, Print Mockups, Branding Mockups
Most installed mockup plugin. 3800+ device & branding mockups
by ls.graphics
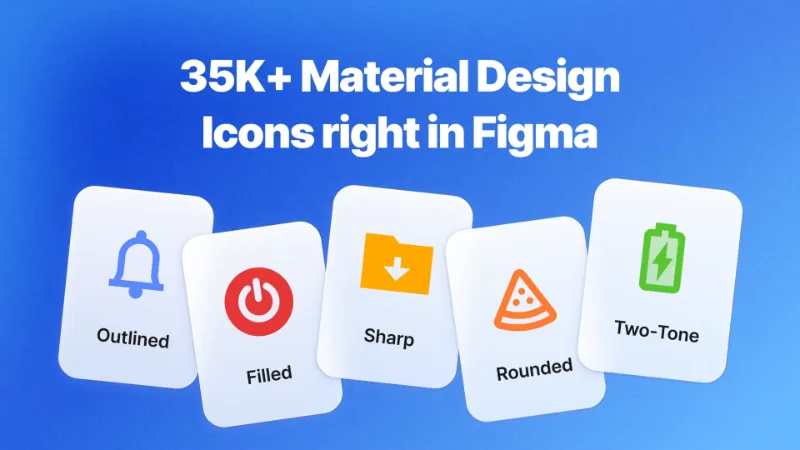

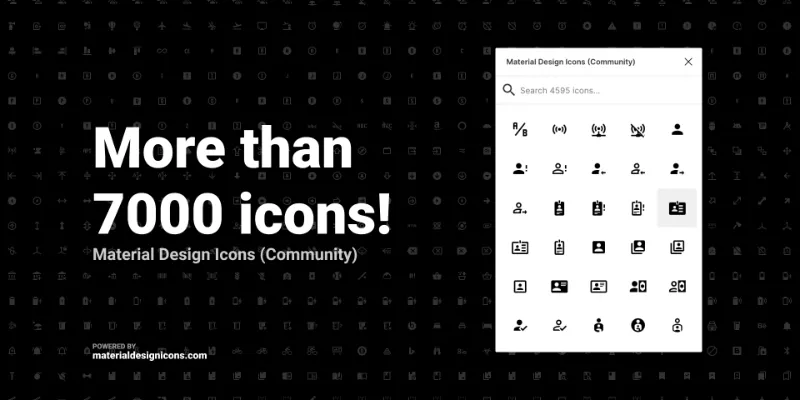
Material Design Icons
Instant easy access to the entire Material Design Icons library
by Icons8 Team
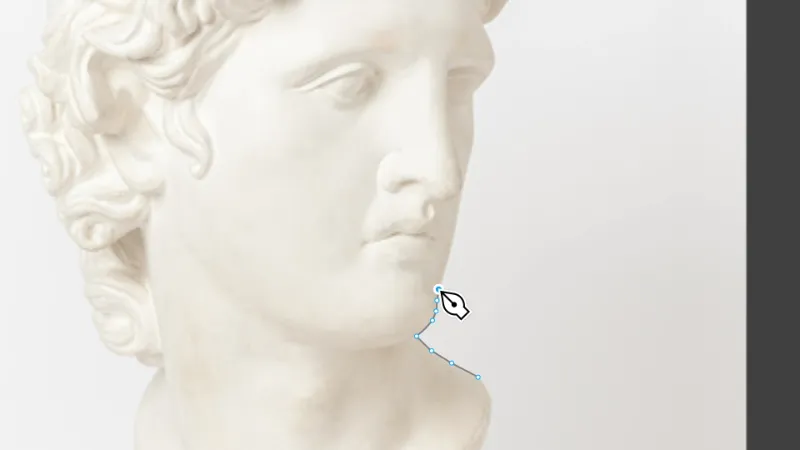

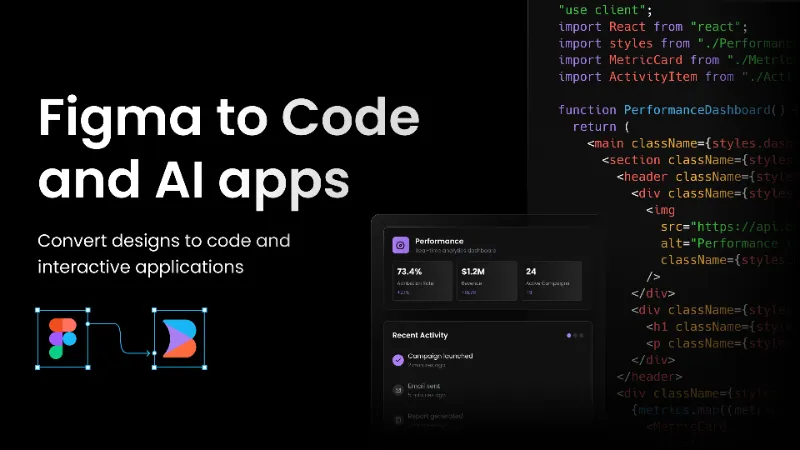

Builder.io - Figma to Code & AI Apps (React, Vue, Tailwind, etc)
Export designs to clean, responsive code or turn Figma screens into AI apps and prototypes.
by Steve Sewell
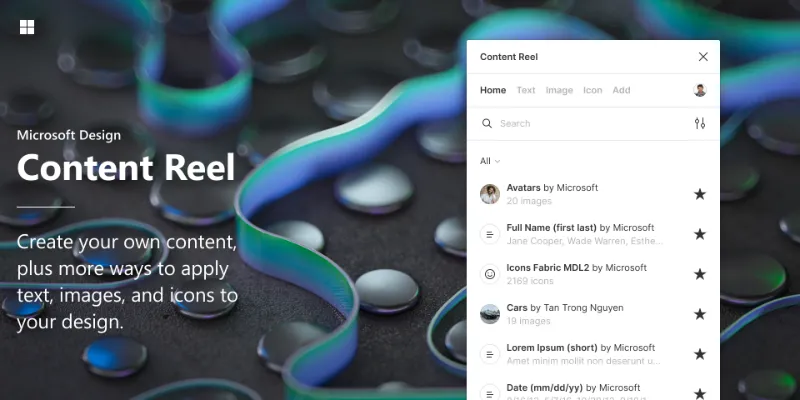

Content Reel
Design layouts more efficiently by pulling text strings, images, and icons.
by Eugene Gavriloff


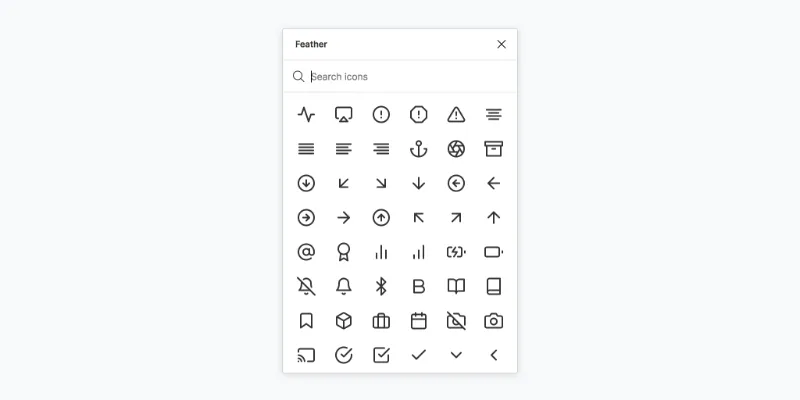

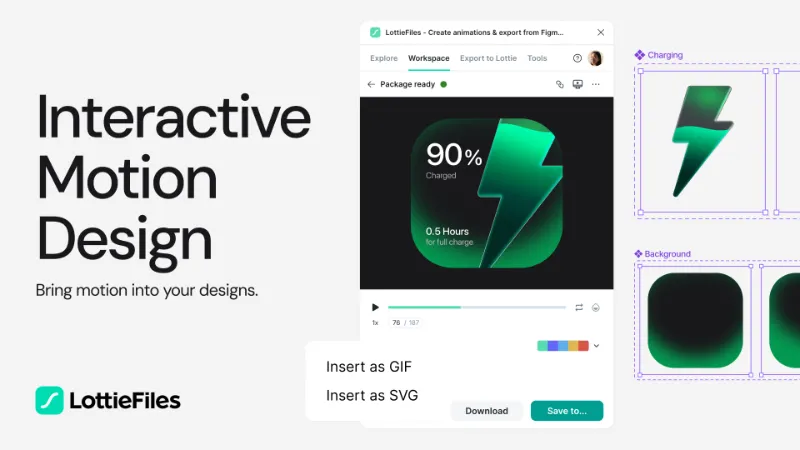

LottieFiles - Discover, Create & Export Lottie animations
Animate Your Designs with Lottie Animations
by LottieFiles
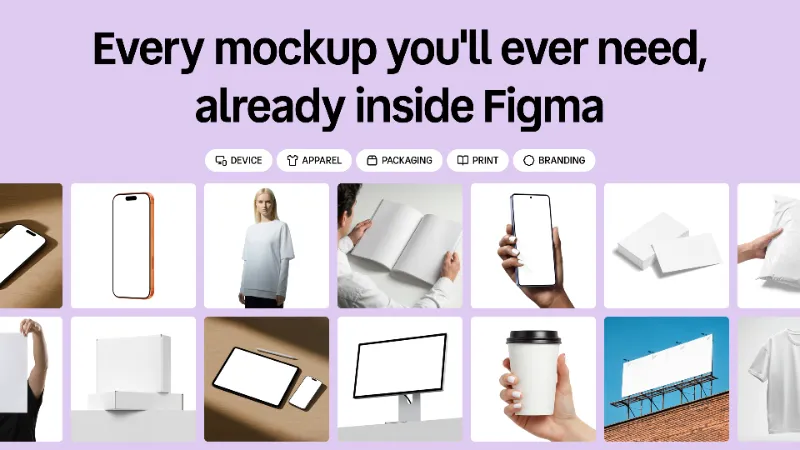

Artboard Mockups
Device mockups, branding mockups, apparel mockups and more
by Artboard Studio
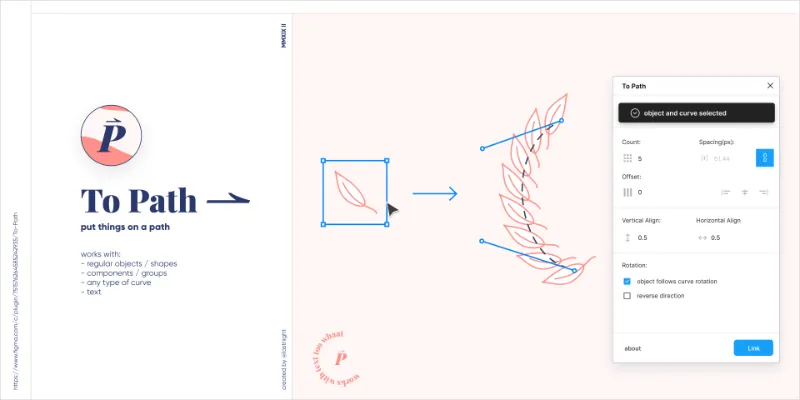

To Path
✨ 𝙋𝙪𝙩 𝙖𝙣𝙮 𝙤𝙗𝙟𝙚𝙘𝙩𝙨 𝙤𝙧 𝙩𝙚𝙭𝙩 𝙤𝙣 𝙖 𝙥𝙖𝙩𝙝!✨1. select a curve2. select a shape, group, or text3. hit "link" and watch the magic* happen*Its janky code and its not actually magic╭┈─────── ೄྀ࿐ ˊˎ-╰┈➤ 𝙁𝙚𝙖𝙩𝙪𝙧𝙚𝙨clone shapes to repeat along any path (eg circles)put text along any shape including circles and arbitrary pathsedit the original shape (or text) and changes will be reflected real-time (while the plugin is open)edit the curve afterwords and watch the changes live (while the plugin is open)☆゜・。。・゜゜・。。・゜★🌙 𝙄𝙨𝙨𝙪𝙚𝙨 𝙤𝙧 𝙁𝙚𝙖𝙩𝙪𝙧𝙚 𝙍𝙚𝙦𝙪𝙚𝙨𝙩𝙨🌙Open an issue on the github☆゜・。。・゜゜・。。・゜★❤️ 𝙇𝙞𝙠𝙚 𝙬𝙝𝙖𝙩 𝙄 𝙙𝙤? ❤️consider buying me a cup of coffee :)note:This plugin is free and open source under the GPL-3.0 License. 100% free forever, no strings attached─────────✧❁✧─────────˚ ⊹ · * ✧ ⋆ · * . · . · · .. . . · + · * ✫ * ⊹ * ˚ . . · ⋆ * . * . . · . · . * · . · · + . · ** ˚ . . + · ⋆ * . * . . · . · . *
by last night
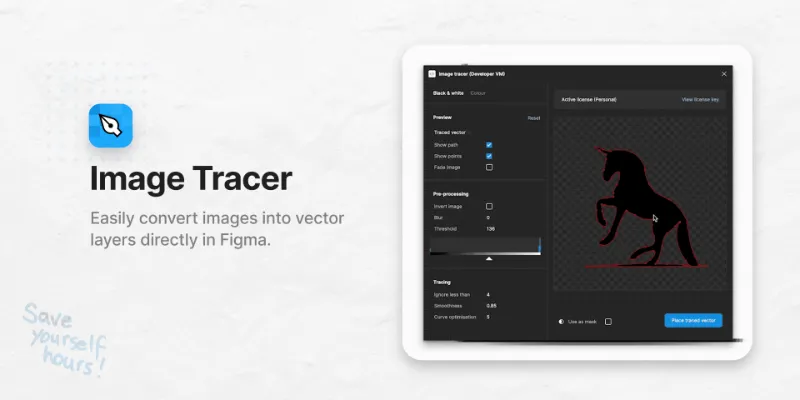



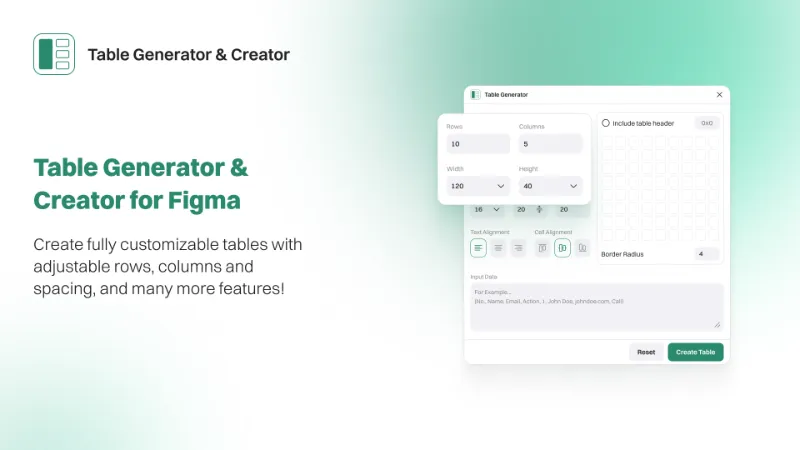
Table Creator
Easily create tables that can be edited, resized and maintained using your design system
by Gavin McFarland
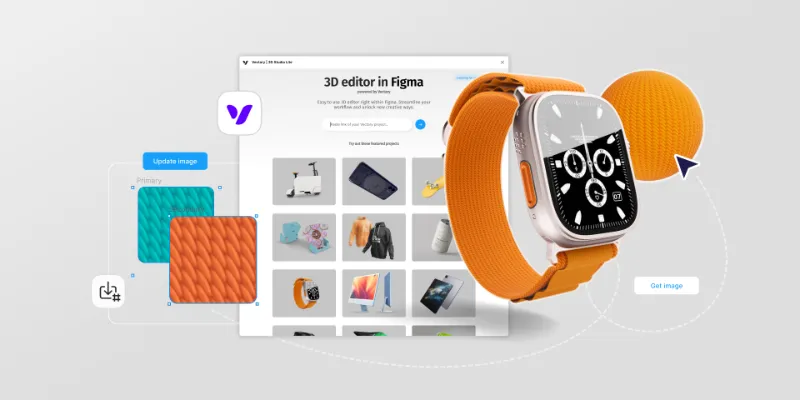

Vectary | 3D Studio Lite
Load your 3D models, set your view and materials as you desire and export it to a frame!
by VECTARY
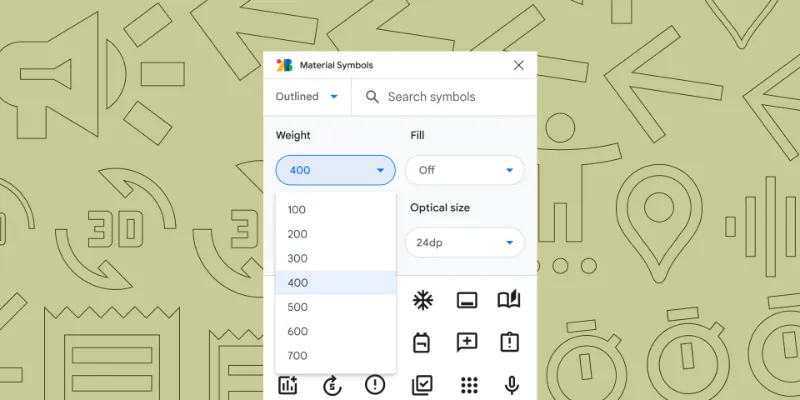

Material Symbols
Meet Material Symbols, Google Fonts' newest variable icon font
by Tomas Roggero
Font Awesome Icons
This is the unofficial plugin for the Font Awesome Icon Collection. The plugin provides access to the entire free icon collection. All icons are in vector format. Plugin allows you to filter the list of icons by name.
by Vyacheslav Myskov
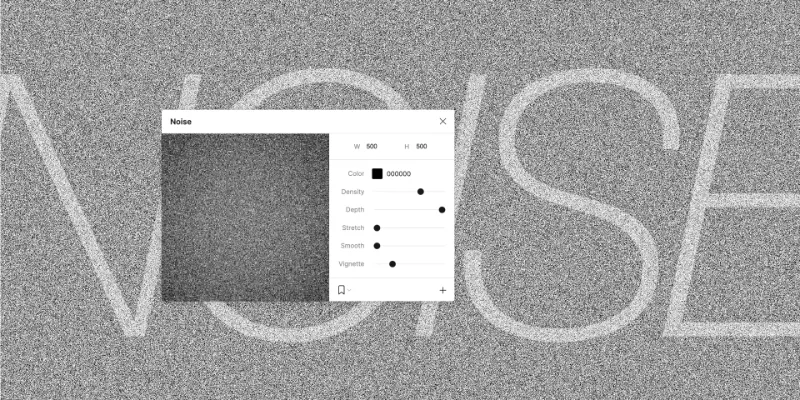
Noise & Texture
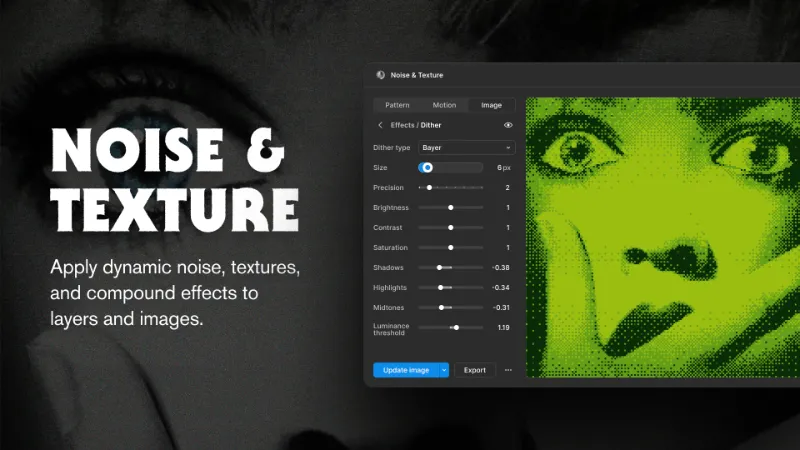
Generate dynamic seamless noise, textures, patterns and animated shaders. Add compound effects.
by Rogie King


Iconoir Icon Library by Iconduck
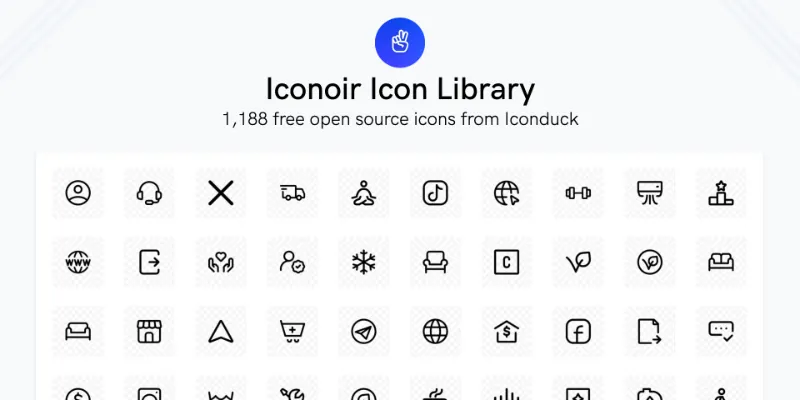
Iconoir Icon Set is an open source library of 1,188 icons. Free to use in all your designs!
by Iconduck
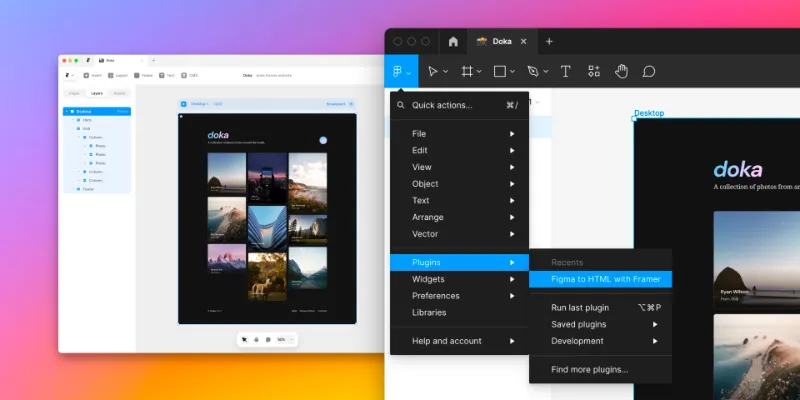

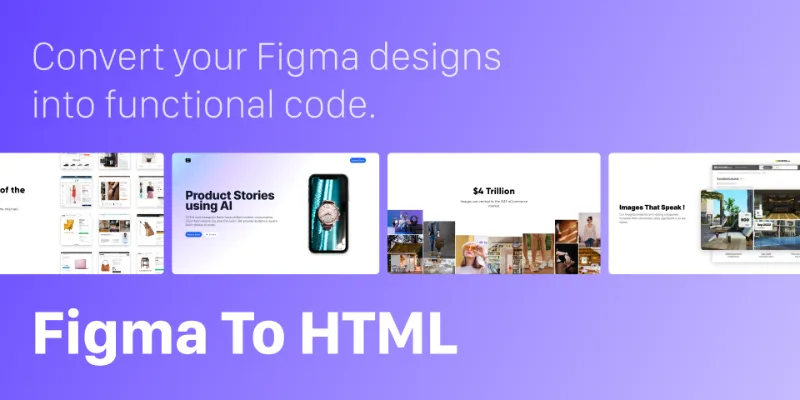
Figma to HTML with Framer
Convert your Figma design to HTML code in seconds with Framer.
by Framer
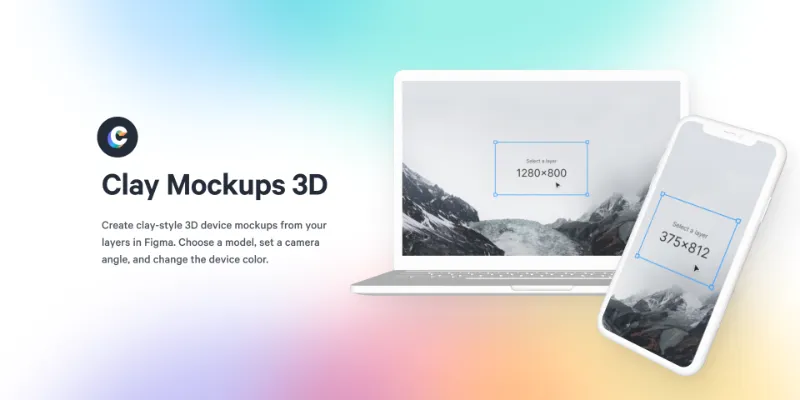

Clay Mockups 3D
Create mockups with 3D clay-style device models. Customize the color, camera angle, and device model
by Hamish


Locofy Lightning - Figma to Code in a flash
Convert Figma designs to code in a flash: React, React Native, Flutter, HTML/CSS, Angular, Next, Vue
by Locofy.ai
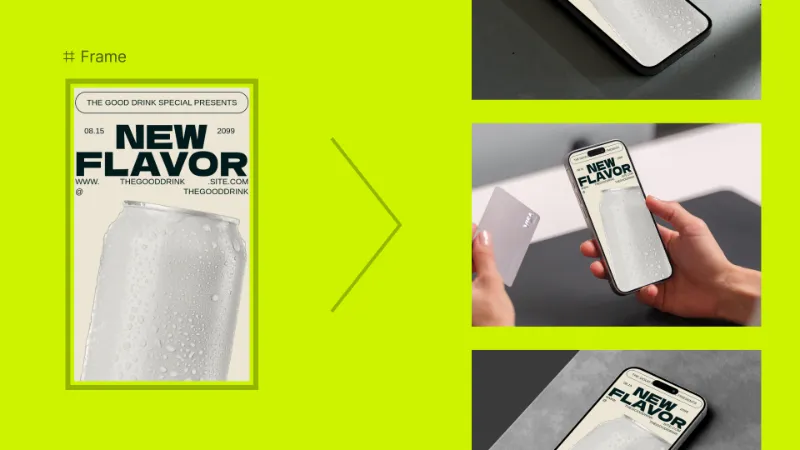



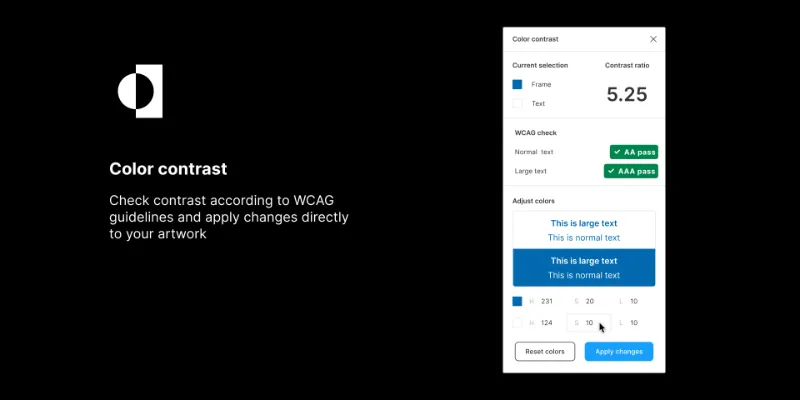
Stark - Contrast & Accessibility AI Checker
Fix Color Contrast and Typography issues and add WCAG annotations for a smooth design to dev handoff
by Stark


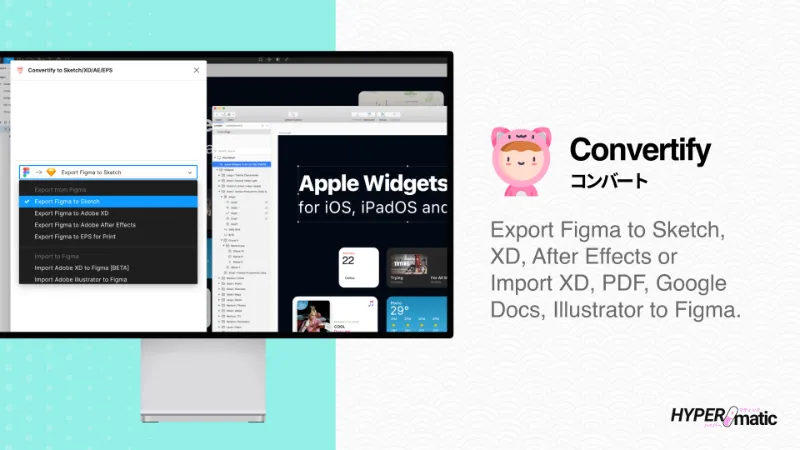

Convertify Sketch/Adobe/Google
Export to Sketch, XD, After Effects, PSD, InDesign — or — Import XD, Illustrator, PSD, InDesign, PDF
by Hypermatic


maps.to.design — by ‹div›RIOTS — Generate maps blazing fast
Make Customized Map Blazing Fast
by divRIOTS
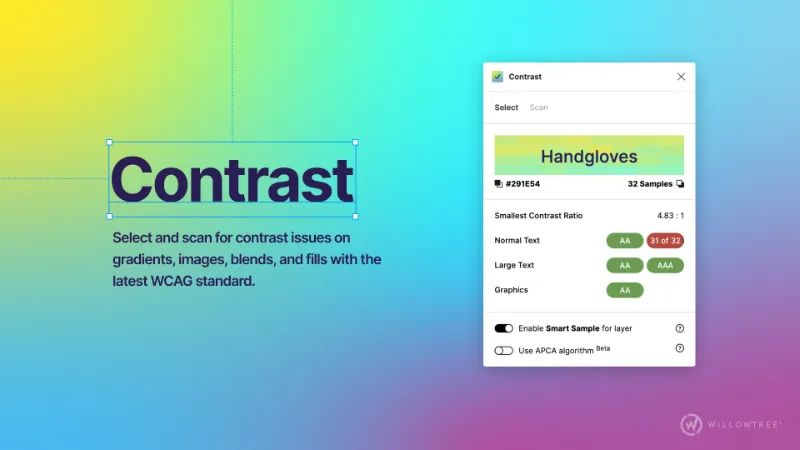

Contrast
Quickly check and scan for contrast issues on gradients, images, blends, and fills.
by Alex Carr

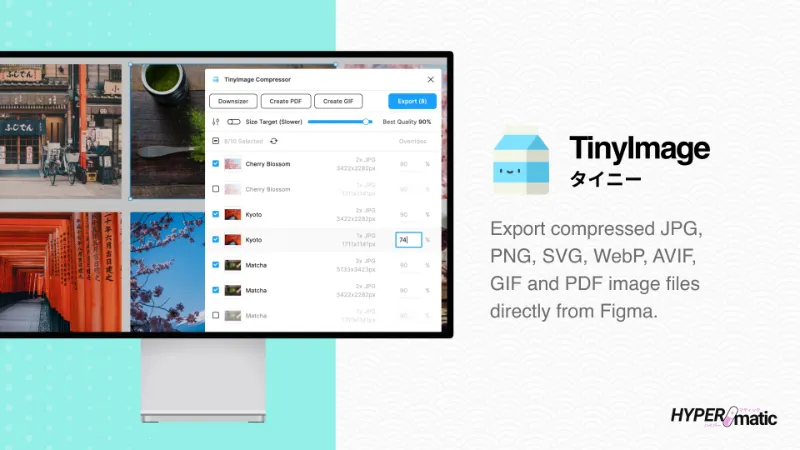

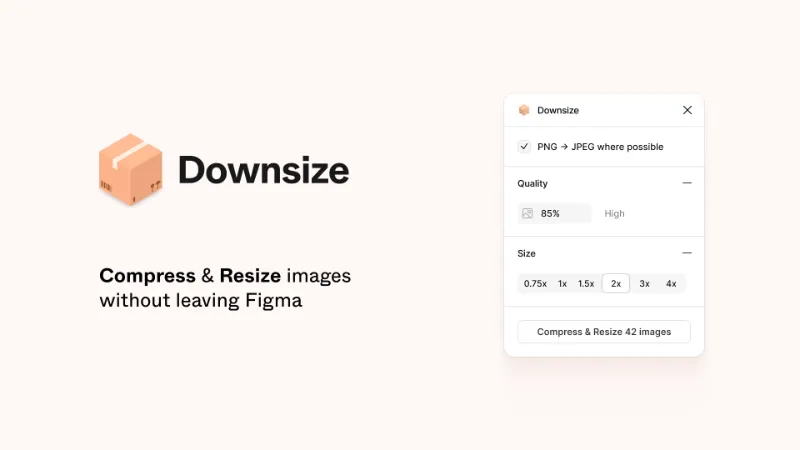
TinyImage Compressor
Export/downsize compressed JPG, PNG, SVG, WebP, GIF, WebM, MP4, AVIF and PDF image files from Figma
by Hypermatic
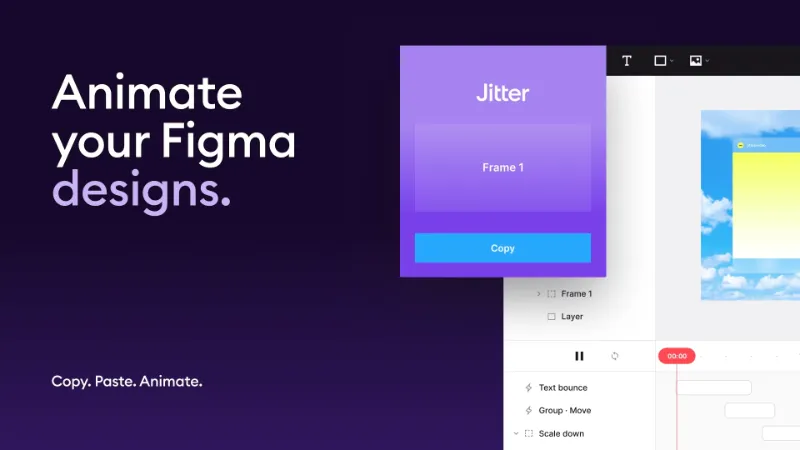

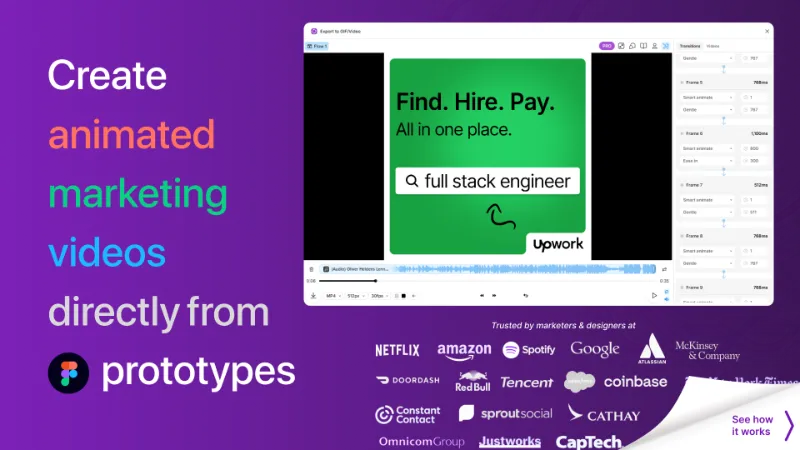
Jitter · Animation for Figma
Animate your Figma designs, export to video / GIF / Lottie, handoff animation specs to developers
by Jitter
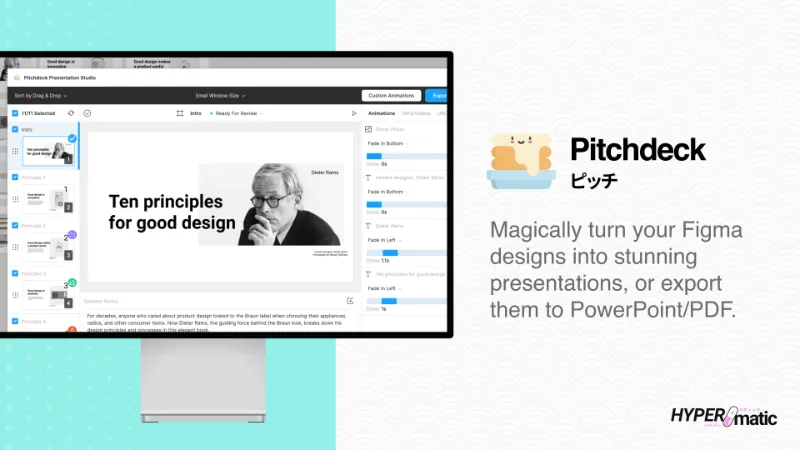

Pitchdeck Presentation Studio
Turn your Figma designs into animated slide decks or export them to PowerPoint/PDF
by Hypermatic


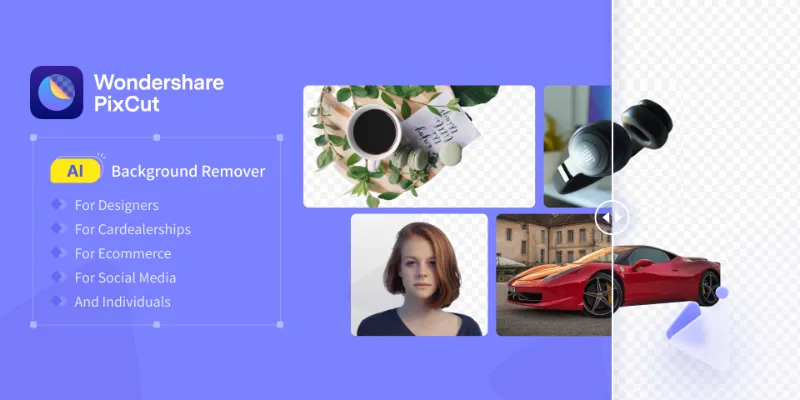

PixCut Background Remover
Want to remove background from image free? Wondershare PixCut plugin will help you to make image background transparent automatically for free. Users could remove 10 images for FREE per month with the help of PixCut Plugin. How to Get Remove Background from Image with 3 Steps?1. Sign up pixcut.wondershare.com and get a free app-key. 2. Select one picture and run the Background Remover from the Plugins menu.3. Get your image without background, but with the original image size and quality. Meet the Best Online Image Editor – Wondershare PixCut PixCut is a multi-purpose image tool developed by Wondershare Technology to help you do all kinds of alterations to your image. People can use PixCut to design posters, banners, YouTube thumbnails, Instagram posts, and many more for marketing, career, or other related purposes. What Makes PixCut the Best Online Editing Tool?1. Automatic AI & Quick Speed You don't have to outline the background to be removed manually. The automatic removal of the background does not take more than a few seconds to complete. 2. API The supported environments are URL, Node.js, Python, Java, PHP, Objective-C, and .Net. You can get a successful API call for one credit. 3. Remove Watermark With one simple click, all the displeasing scratches, defects, and watermarks from your image will disappear into thin air. 4. Online Bulk Remove Need to remove the backgrounds of multiple images? You can remove the backgrounds of up to 30 images, all at once. 5. Enlarge Image You can enlarge your image to 4 times while still keeping the high resolution intact.
by Wondershare PixCut



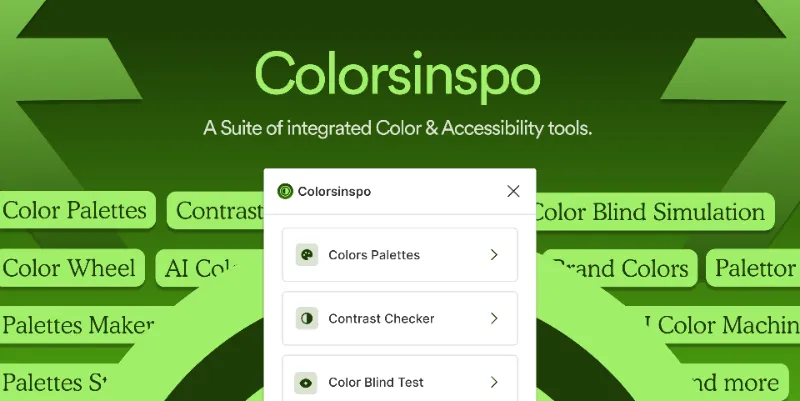

Color Palettes ( Colorsinspo ) : Color & Accessibility Tools
A free suite of integrated Color & Accessibility tools - 10+ tools free access 🔥
by Manthankumar Satani

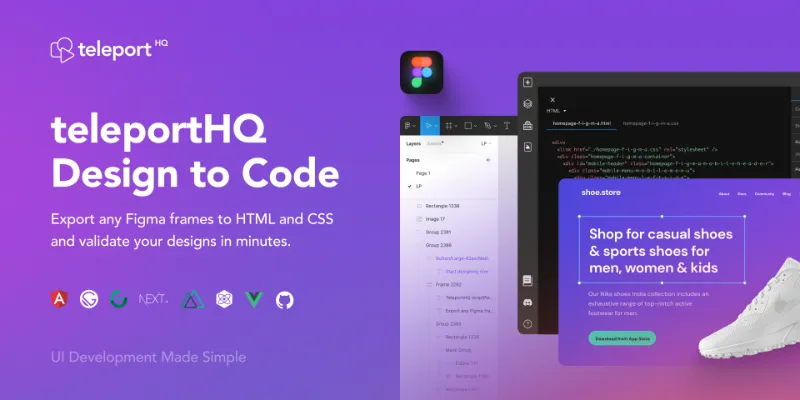

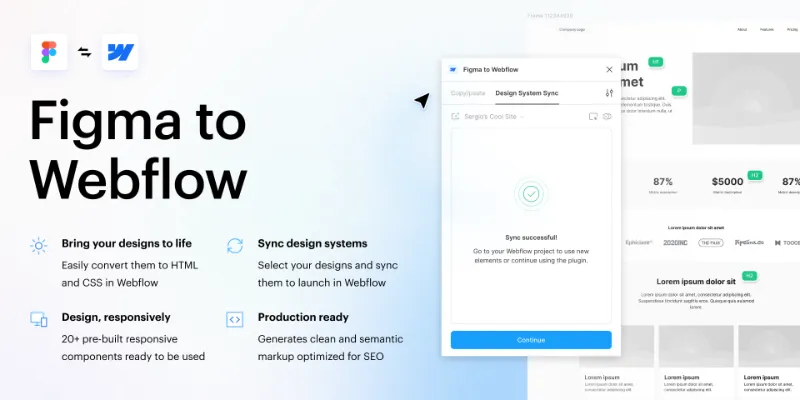
TeleportHQ - Figma to Code - Export HTML, CSS, React & Vue
TeleportHQ - Figma to Code
by teleportHQ

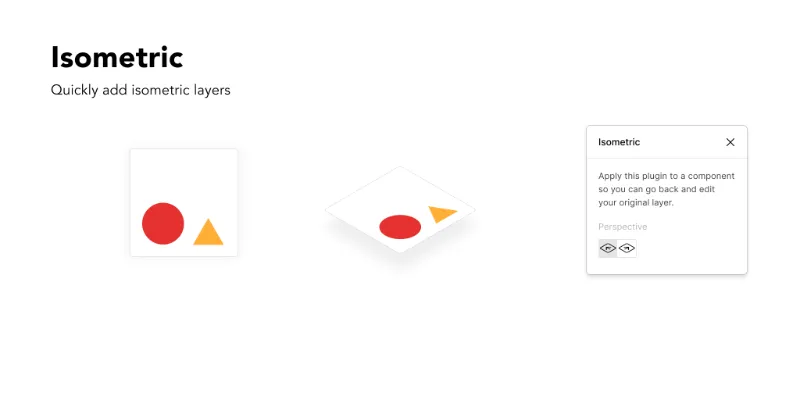

Isometric
Isometric allows you to create isometric layers without manually having to set them up. How to Use Isometric: 1. Choose Your Layer 2. Right Click > Isometric 3. Select Your Perspective This project is open source and MIT licensed.
by Wilson Lam
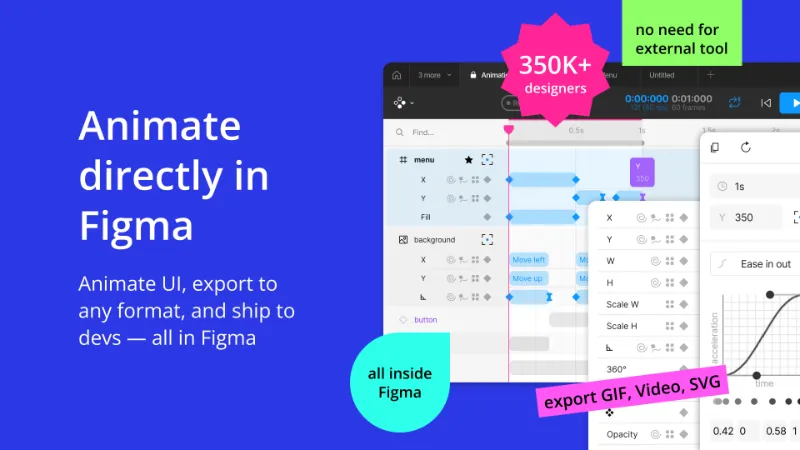

Motion – Animate UI & Create Animations in Figma
Animate UI in Figma. Export to video, GIF, SVG.
by Pavel Babkin
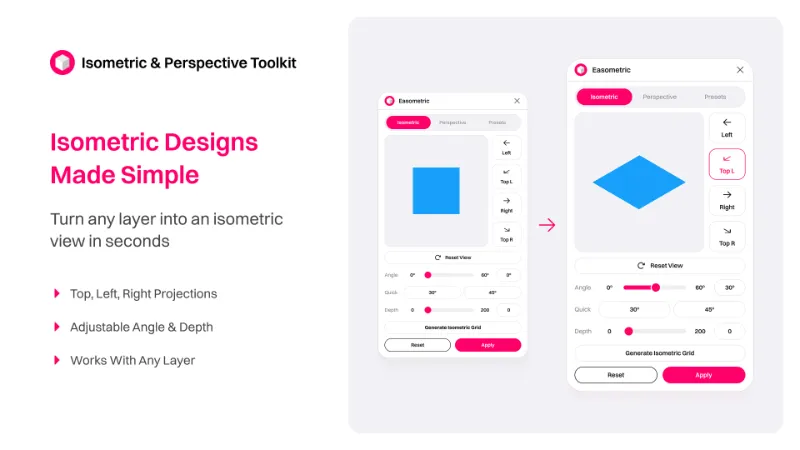

Isometric & Perspective Toolkit
Quick apply a top, left or right perspective or using the modal to modify your layer.
by Appcano
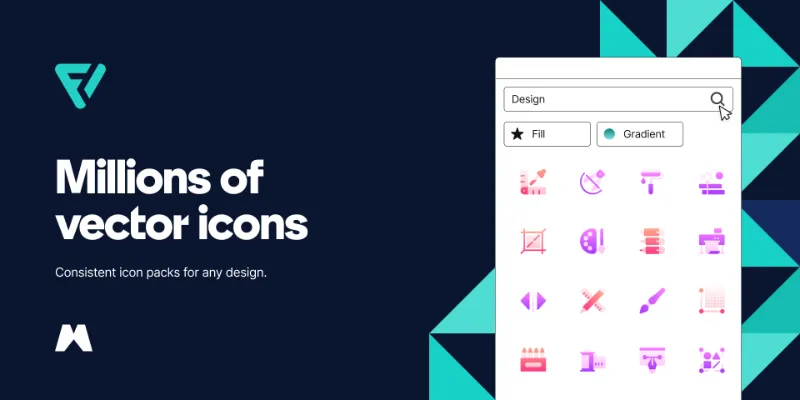

Flaticon by Magnific
Search through 5,000,000+ pixel-perfect icons, stickers and vectors (from Freepik)
by Freepik: Integrations
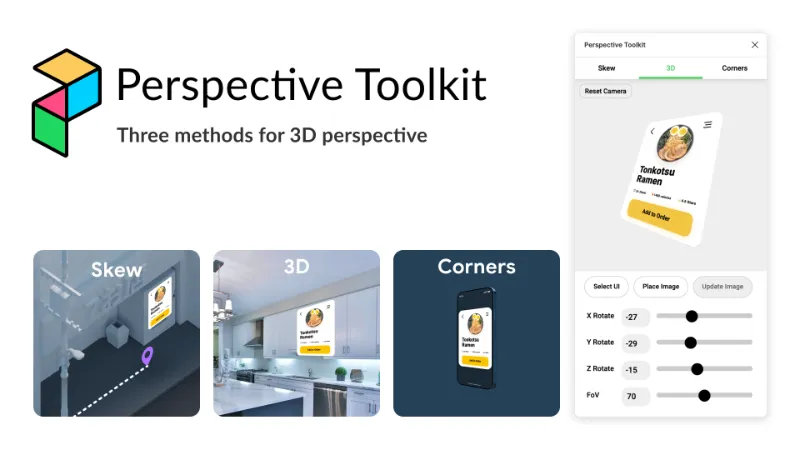

Perspective Toolkit
Put everything in perspective usingthree unique approaches
by Jake Blakeley
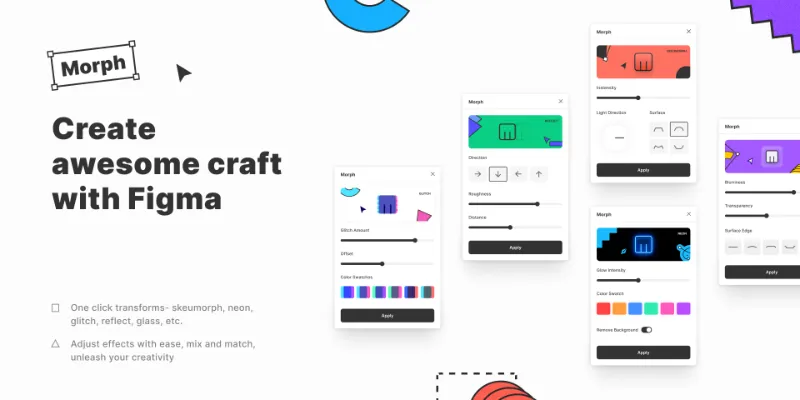

Morph
Create awesome effects like Skeuomorph, Neon, Glass, Mesh Gradients, & more!
by Milan Maheshwari
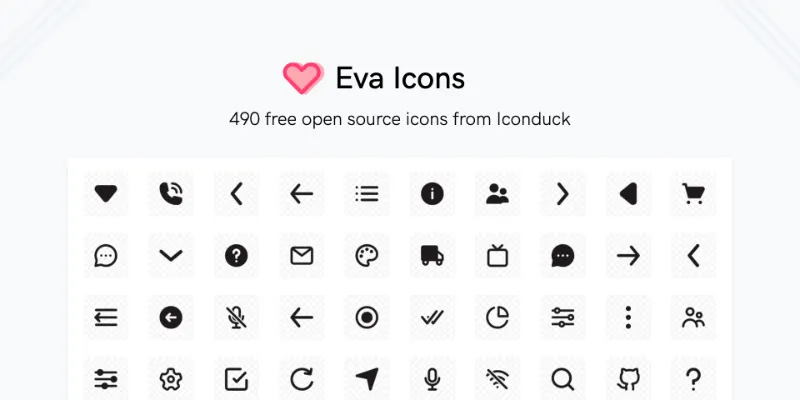

Eva Icons by Iconduck
Eva Icons is an open source library of 490 icons. Free to use in all designs!
by Iconduck

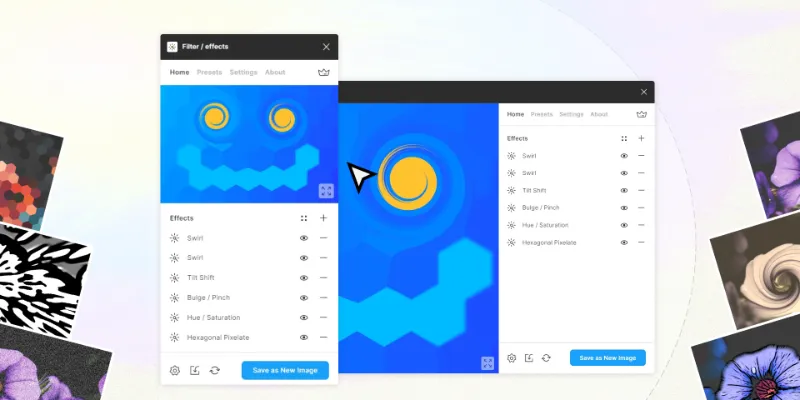

Filter / effects
Modify images more than 50 different effects right in Figma!
by Andreslav Kozlov
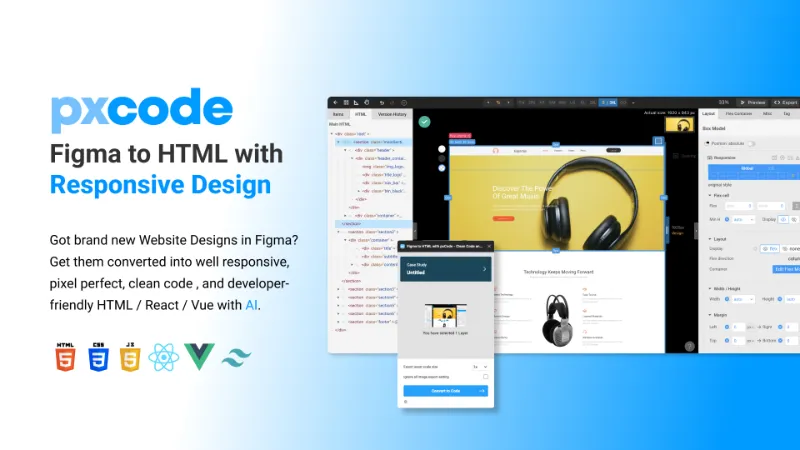

Figma to Fully Responsive HTML & Clean Code 20x Faster with AI - pxCode
Convert Figma to Fully Responsive HTML CSS / React / Vue / Tailwind with AI
by pxCode
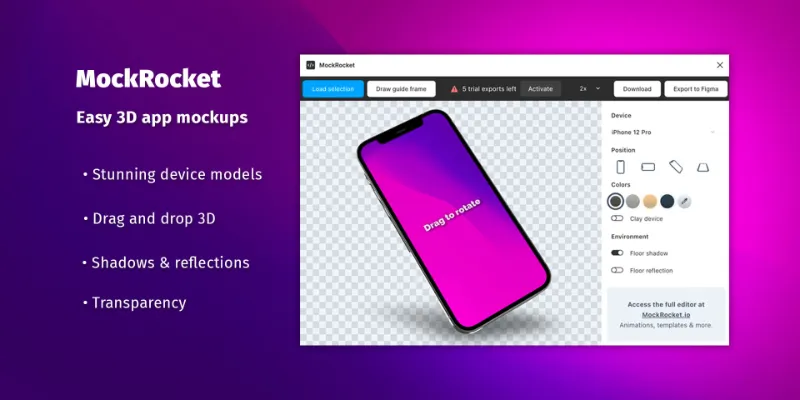

MockRocket – 3D Mockups
Create stunning 3D device mockups in 2 clicks.Featuring clay devices, shadows, custom colors, reflections, and transparent backgrounds. Choose from the latest 3D device models – iPhone, MacBook, iMac and more. Simply drag to rotate the device in true 3D. Export to Figma seconds later.Getting started:Install and run the plugin from the plugin menuChoose a deviceSelect an appropriately sized frame in Figma. You can also click "Draw guide frame" to get a perfectly sized frame to use–resize your designs to fit the frame and then select itClick "Load selection" to load your selected frame into the plugin.Drag the mockup to rotate it in 3D, or choose a preset position.Change settings–toggle shadows and reflections, device colors, and clay mode.Click "Export to Figma" (at 1x to 4x resolution) or "Download" to save to your devicePowered by MockRocket.io – the easiest platform for creating stunning 3D device mockups and animated product videos. Start for free today: MockRocket.ioLicenseYou can export up to 10 mockups totally free, then you will be prompted to purchase a license key. License keys are included with all paid plans on MockRocket.ioPricing: https://mockrocket.io/pricingSupport: derek@mockrocket.io
by MockRocket


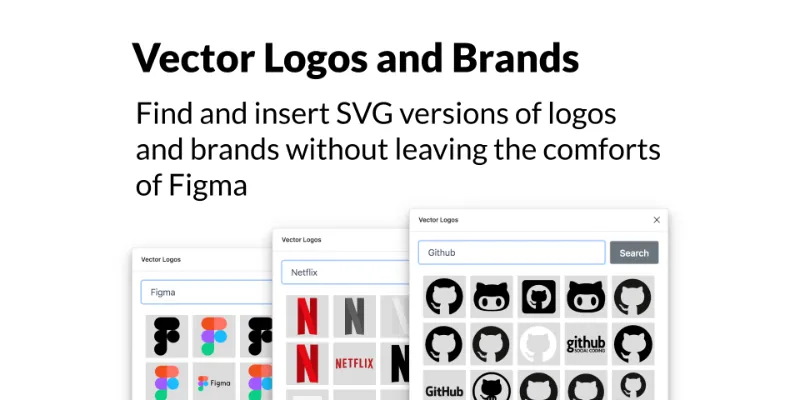

Vector Logos
Find and insert SVG versions of logos and brands without leaving the comforts of Figma. A simple, no-frills interface that saves you time and effort.How It Works:❶ Open the Vector Logos plugin❷ Search for a logo or brand❸ Click the one you'd like to insert❹ Continue making beautiful designs✨ Open source at https://github.com/kevinwuhoo/vector-logos-figma-plugin ✨
by Kevin Wu


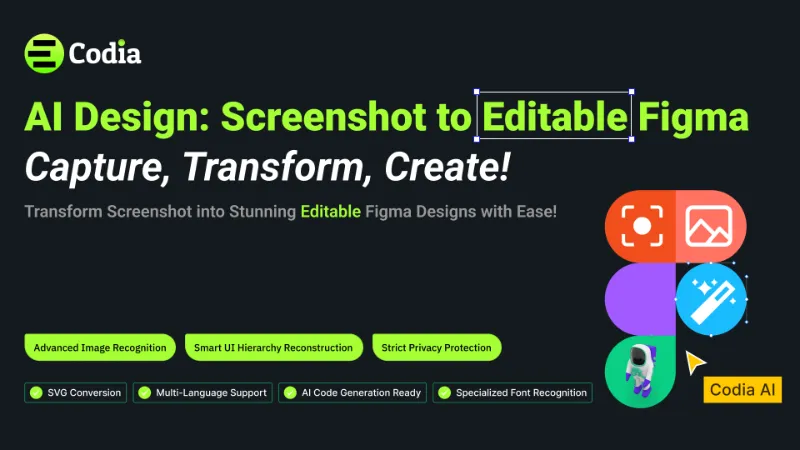

Codia AI Design: Screenshot to Editable Figma Design
Capture, Transform, Create! Transform Screenshot into Stunning Editable Figma Designs with Ease!
by Codia.AI





Zeplin
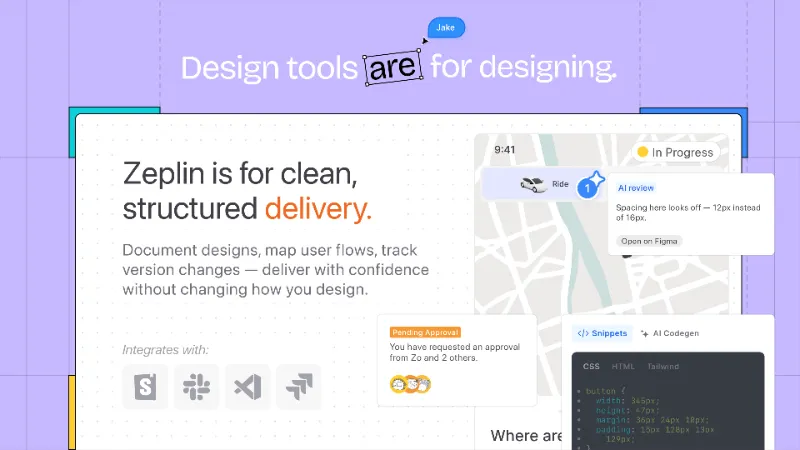
Design tools are for designing. Zeplin is for clear, structured design delivery.
by Zeplin Crew


Curve Text
From circles, squares, arches, to custom paths – bend your text any way you want!
by Lichin
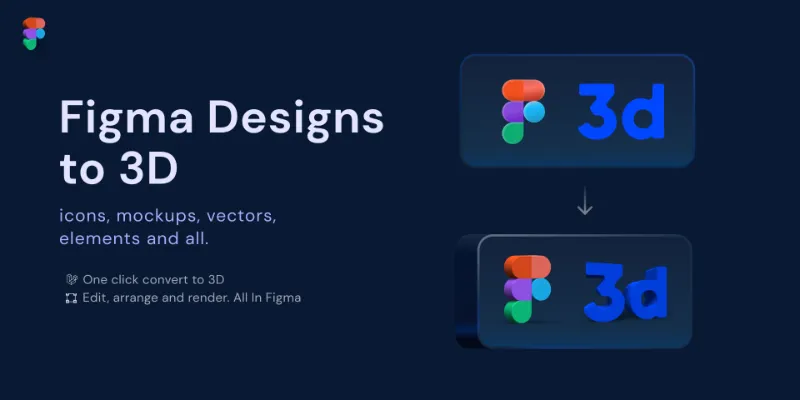

Fig3D
Instantly convert your shapes, icons, logos and UI designs to 3D models and get a good render. All in Figma.Features:Convert shape and groups to 3D by extruding in Z - plane.Render realistic images with soft-shadows from the 3D models.Control view direction for the output render.Adjust height and shadow direction and other light properties.Switch between perspective and orthographic(isometric) projections.Adjust object roughness and metalness.3D Bevel and emboss. (Corner)3D model export for external renderers.Coming soon:Saving state to continue editing later.Custom 3D model import.We are in process of adding several features and customisation options. Let me know what you think, any bugs you face or suggest features that you would like to see at palash@shaders.app
by Palash Bansal


Removal.AI - Free Background Remover
Background remover free with one click
by Lê Hoàng Trình
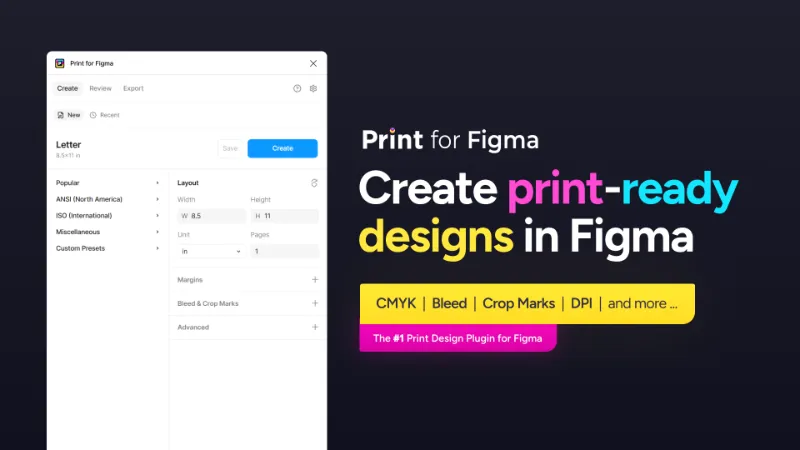

Print for Figma | CMYK, Bleed, Crop Marks, DPI
Export Figma to CMYK with Bleed, Crop Marks, DPI, and more ...
by Ben Katz
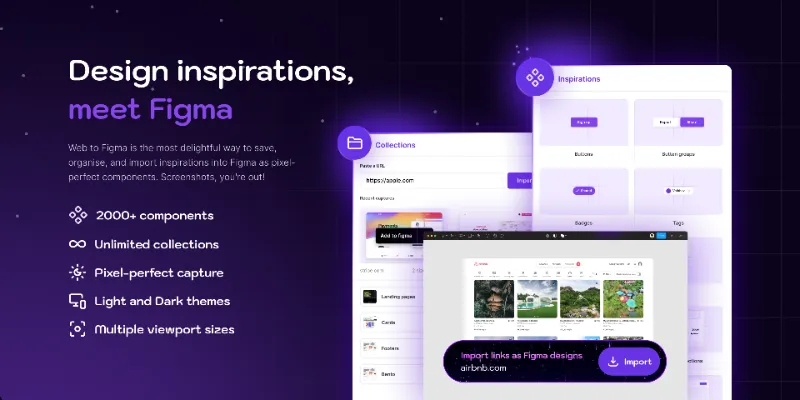
Web to Figma - Convert any website or HTML code to design
Import any website or HTML code to Figma editable design. Goodbye screenshots.
by Web to Figma
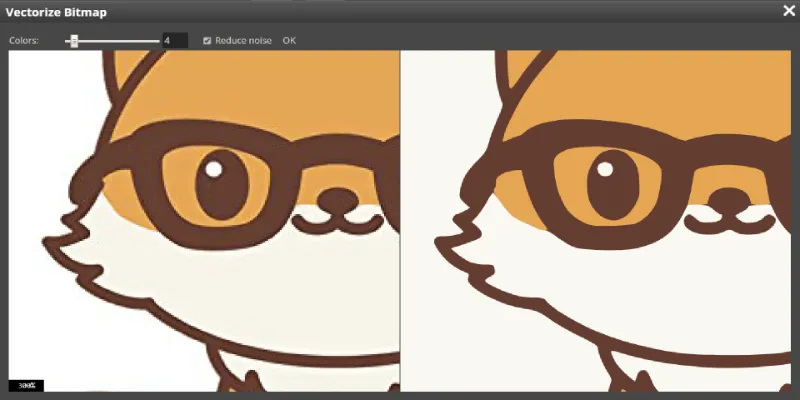

Vectorize Bitmap - Trace Image
A tool for converting raster images to vector images
by Patrik Schiller
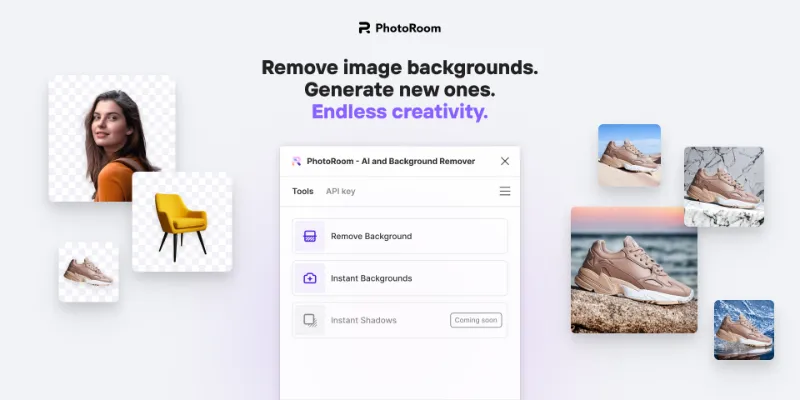

Photoroom - AI and Background Remover
Remove backgrounds accurately and generate AI backgrounds instantly.
by Photoroom
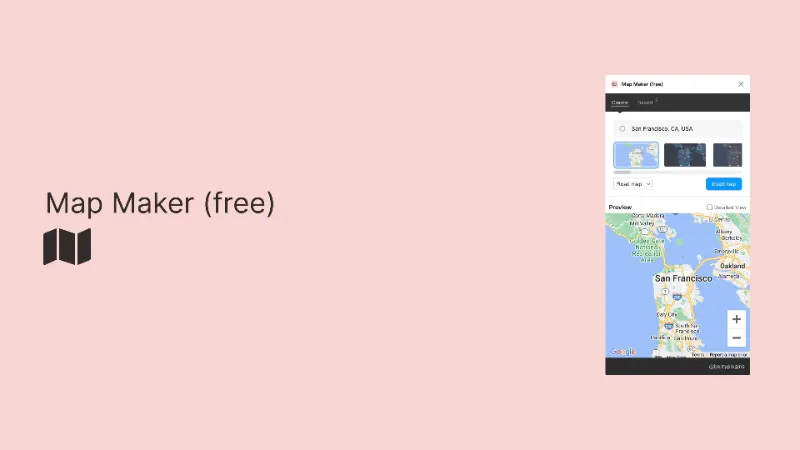









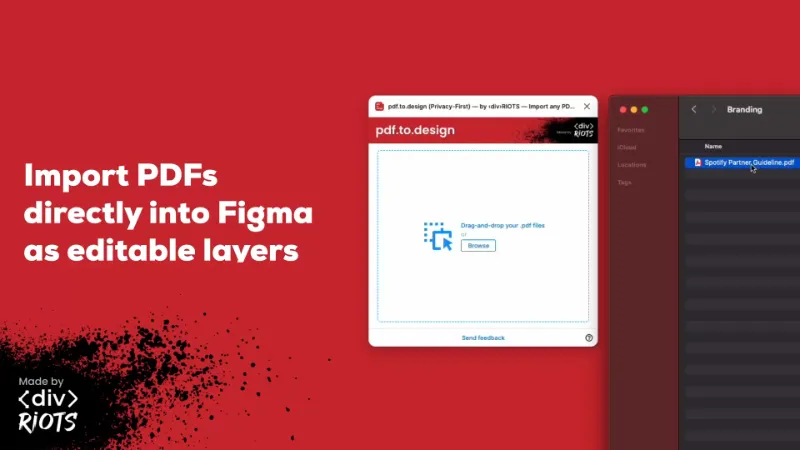
pdf.to.design — by ‹div›RIOTS — Import any PDF to Figma
Convert any PDF document into Figma designs. 100% PRIVATELY.
by divRIOTS



Vectorize
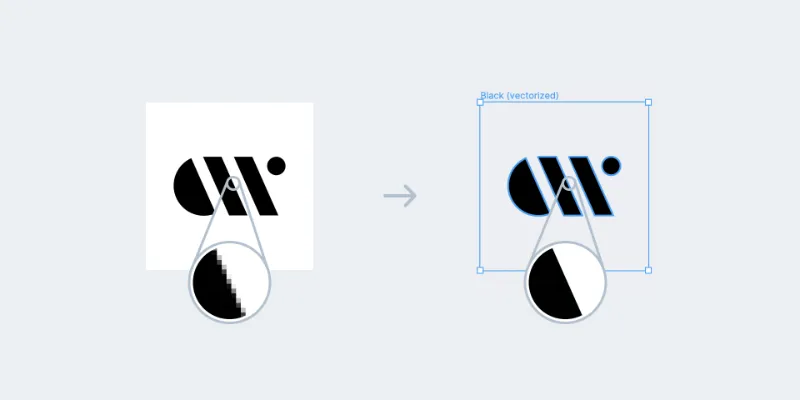
Convert bitmap images to vector.How to useSelect node/frame with image fill (just one image fill)CMD + /VectorizeVectored path added to canvas
by Liam McCabe
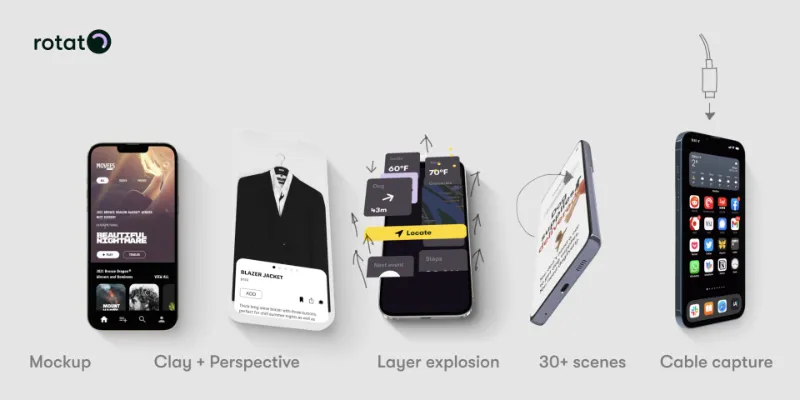

Rotato [MacOS] 3D Mockups + Explosions
Rotato for Mac companion plugin. Real 3D. Exploded layers.
by Rotato




ProtoPie
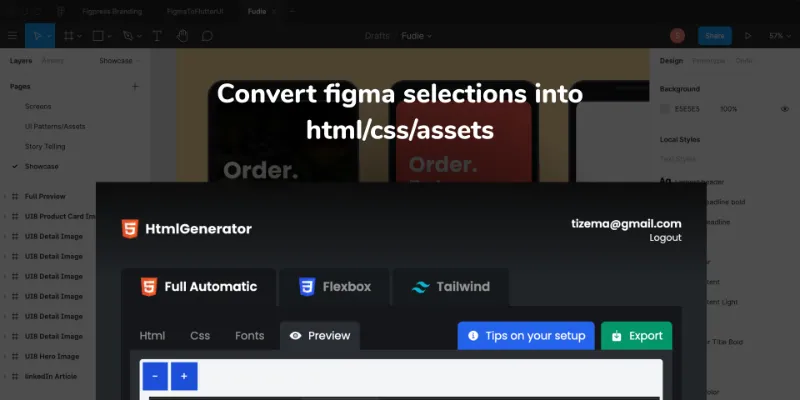
High-fidelity prototyping for Figma. Import Figma designs and add dynamic, conditional interactions.
by ProtoPie


Rename It
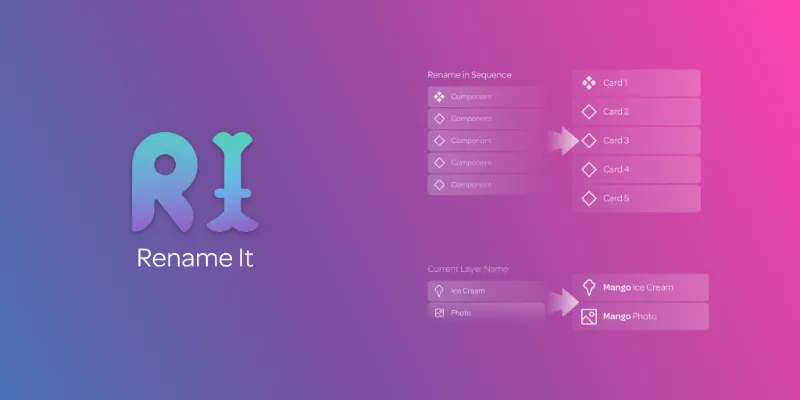
Keep your Figma files organized, batch rename layers and frames.**NEW FEATURE** Quickly rename layers using the Figma quick actions launcher.Select the layers that you want to renameInvoke the Figma launcher with ⌘/ on Mac or Control/ on PCSearch for "quick rename" and press enterType what you want to rename your layers (You can use any Rename It keywords, such as %N for sequence rename)Press enter and choose the sequence order if needed. Voila! The layers should be renamed.Multiple LayersRename Multiple layers at once.SequenceSequentially rename layers in either ascending or descending order.Keyword %N - Ascending numbered sequenceKeyword %n - Descending numbered sequenceKeyword %A - Alphabet sequenceAdditionally, you can choose the sequence order by:Layer Panel - orders by the layer order in the panelLeft to right, top to bottom - orders by canvas position starting from the left most selected layerTop to bottom, left to right - orders by canvas position starting from the top most layerCurrent Layer NameThe keyword %* will copy the current selected layer(s) name.Layer Name CaseYou can use the %* with combination of letters to convert the layer name case.Keyword %*u% - Convert to UPPER CASEKeyword %*l% - Convert to lower caseKeyword %*t% - Convert to Title CaseKeyword %*uf% - Convert to Upper first wordKeyword %*c% - Convert to camelCase (This will remove the spaces)Add Width and HeightRename layer(s) with the width %W and height %H of a layer.Find & Replace in Selected LayersReplace any word(s) or character(s) from selected layers.
by Rodrigo Soares


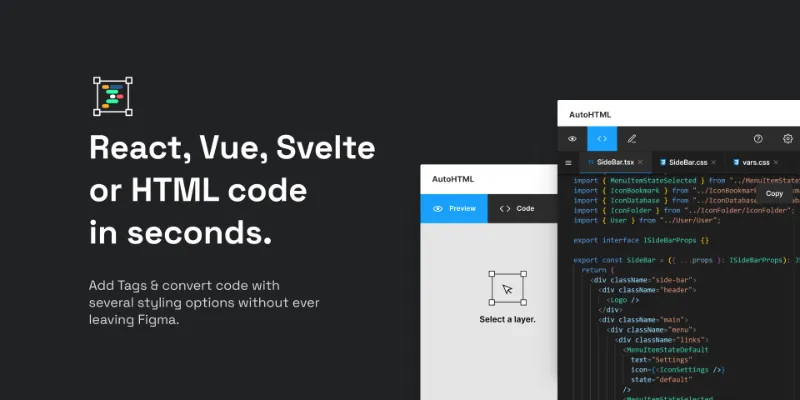

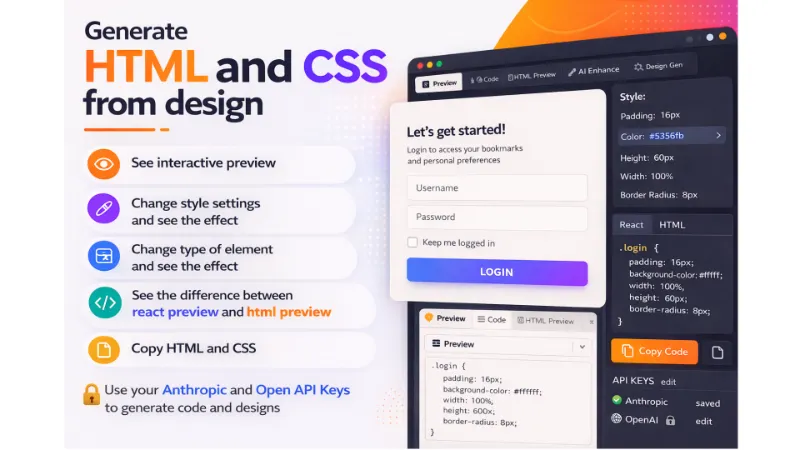
AutoHTML | Components to Code
React, Vue, Svelte, Angular, Tailwind, HTML & CSS Converter
by Thomas Deser


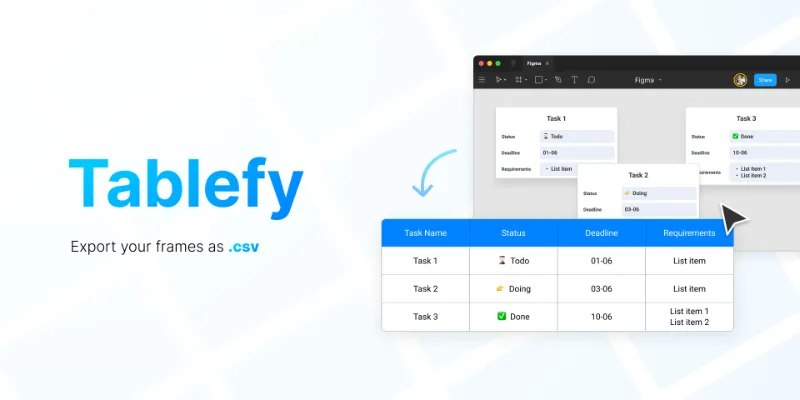
Tablefy
Export your frames and instances to tabular data (.csv).Let's say you manage some tasks on your Figma files and want to export a .csv to filter by status, send it to someone or upload to Google Sheets. Tablefy will help you do just that.How to use itTablefy relies on your layers naming to recognize how to transform your frames / instances to tabular data.As an example, you could create a list of instances with the following layer structure and names:👉 Instance named "Item"Group named "Column"Text Layer named "Header" filled with text "Name"Text Layer named "Value" filled with text "Task 1"Group named "Column"Text Layer named "Header" filled with text "Status"Text Layer named "Value" filled with text "To do"So, you could open the plugin and set the values:Row identifier: "Item"Column Identifier: "Column"Value text layer: "Value"Header text layer: "Header"When you hit Tablefy button, it will generate a .csv with two columns (Name, Status) and as many rows as the frames or instances you selected.You can add as many columns as you want! If your frame just have one useful column, you can ignore "Column Identifier" and keep it empty.It's recommended that you always use instances, since they guarantee each selected frame has always the same layers.Custom columns:You can add custom dynamic columns. Let's say you want to export an url to your frame listed as a row in the csv. You could add a custom column and set its value to "${url}". You can use node parameters as well, like ${node-id}, ${node-name}, ${node-x}.Available variables:${url} - creates an url to the frame${index} - adds a counter relative to the frame list position${node-prop} - retrieve properties from the figma node object, like "node-id", "node-name", "node-x"${predict:"frameName", category: "frameTextLayer"}${layerName} - fetch a layer inside that row with this name and get its text contentsPredict columns with Machine LearningUse the "predict" variable in a dynamic column to apply a classification automatically using the KNN (K-Nearest Neighbours) algorithm. It finds the nearest frame to the row node and sets a value from a layer of that closer framer.This can be really useful if your spacial organization has some meaning that you want to export to the rows. If you have a canvas with titled areas, you could export with your rows which title frame was closer to it.An example:If you set a custom column value field like: ${predict:"frameName", category: "frameTextLayer"}For each node (row) we will look at all the frames named "frameName", find which one is closer to the node and apply to this column that frame's "frameTextLayer" content.
by Kiko Herrschaft
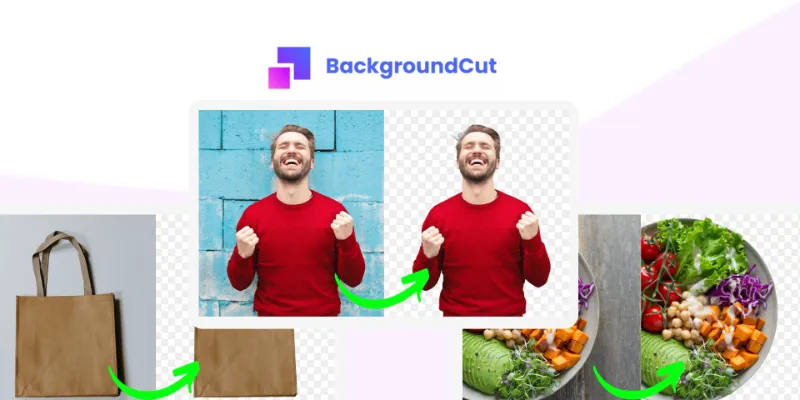

BackgroundCut
BackgroundCut auto background removal platform will quickly remove any image background in just a few seconds.This Plugin help user to remove image background automatically.Create an account with BackgroundCut to get your API-KEY.Run plugin and wait just a few seconds to get results.
by HARSH RANJAN
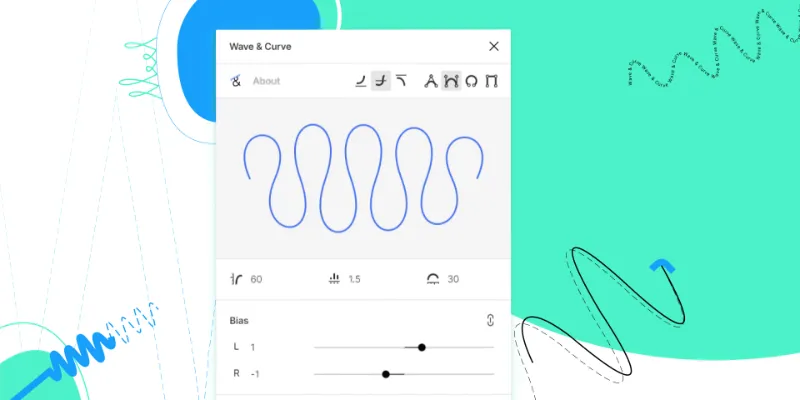

Wave & Сurve
With «Wave & Curve» you can easily create a variety of waves and interesting patterns! Four modes are supported*: - with two control points (cubic curve); - with one control point (quadratic curve). - Arc curve. - Square curve. You can choose the direction of the waves : Top and Bottom, Top, Bottom. Locks near the parameters (appear on hover) allow you to lock them for the Random. * This only matters at the time of generation, Figma converts all curves to cubic.
by Andreslav Kozlov
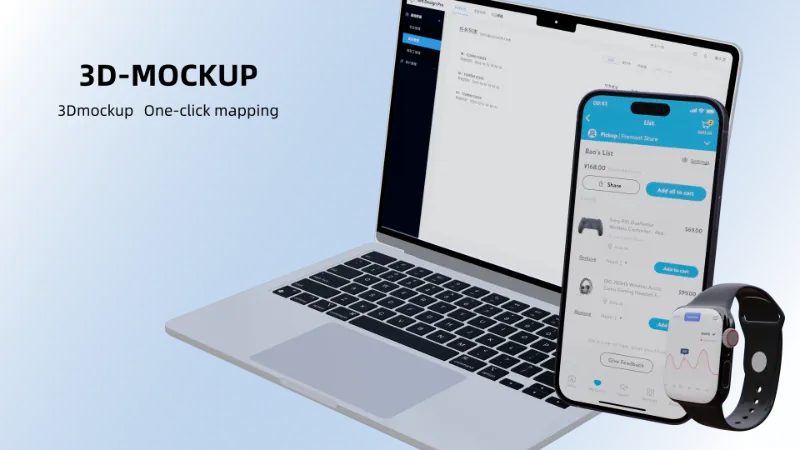

Mockup3D-Mockup Texturing,Device Mockups,Concept Promotional Mockup
Transform your designs into visually captivating masterpieces.
by BoonDragon


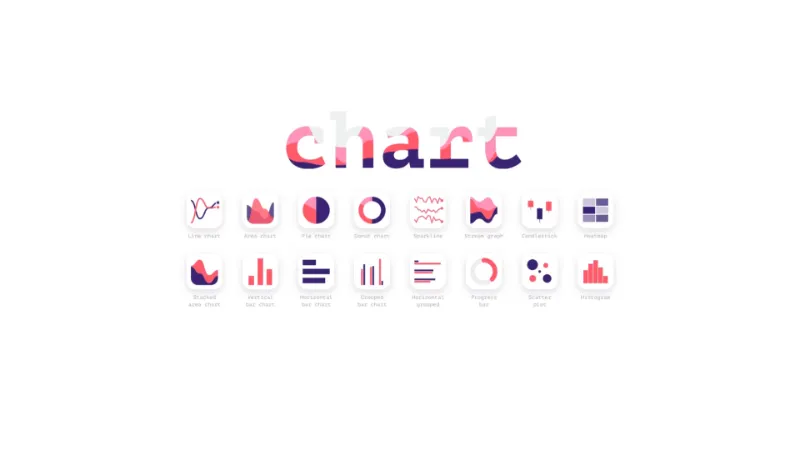
i Charts Generate - line chart / bar chart / pie cahrt / radar chart / scatter / radial
excel data to generate any chart with autolayout and variables- has never been so easy
by Tutu


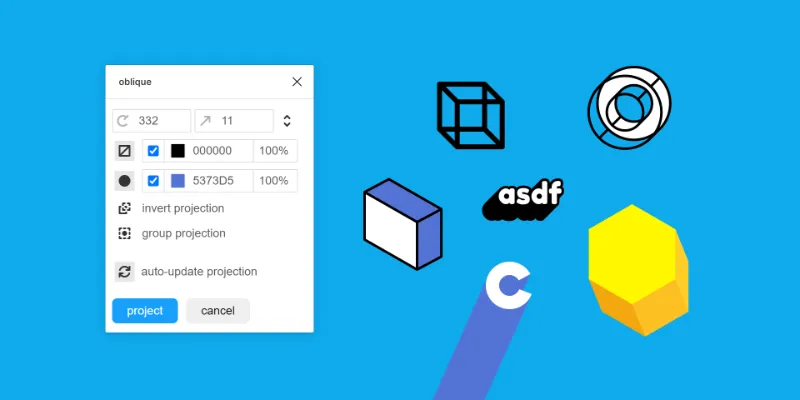

oblique
create oblique projections of any shape. useful for creating shadows, 3d depth, visual perspective, and more!oblique calculates tangent points itself, ensuring correct projections from any possible input shape.this plugin was inspired by the Adobe Illustrator plugin opo by 63mutants.also check out Roto, a similar figma plugin having a couple key differences. oblique calculates faces itself instead of relying on a 3d engine, making it faster and produce less complex results, at the cost of some features such as perspective and lighting options.
by torcado
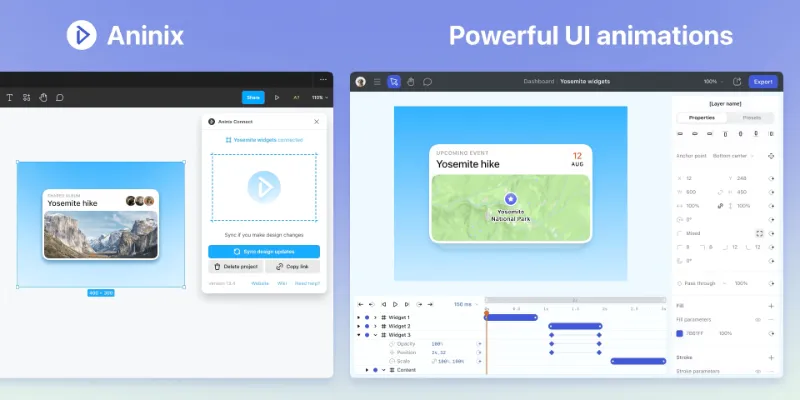

Aninix · UI animation and Motion design. Export Lottie, MP4, GIF
Create motion design within Figma. Export Lottie animations, GIFs, or mp4.
by Tony Pinkevych
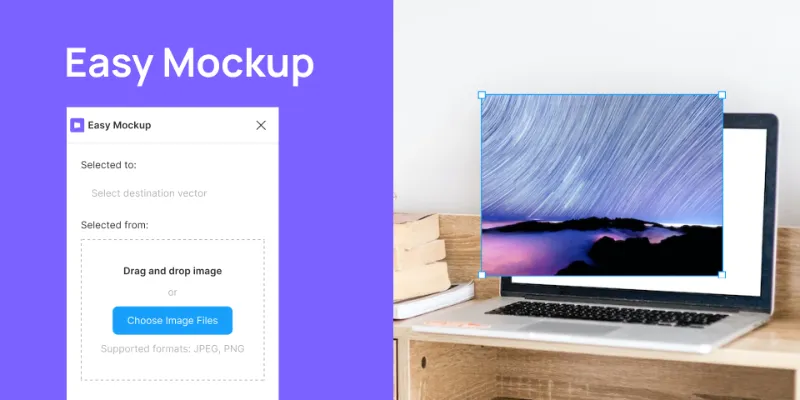

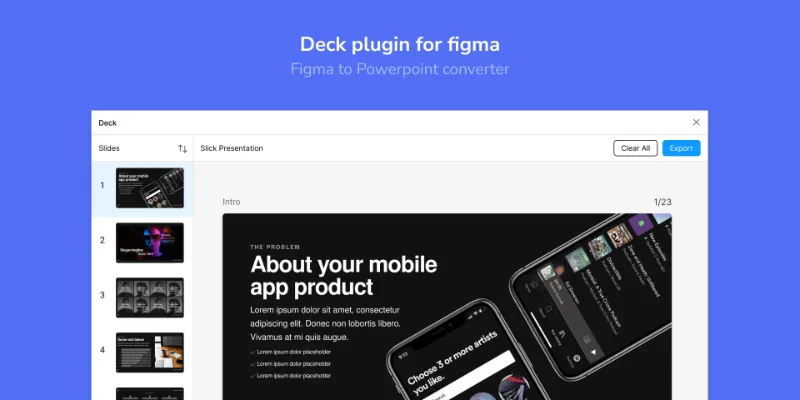

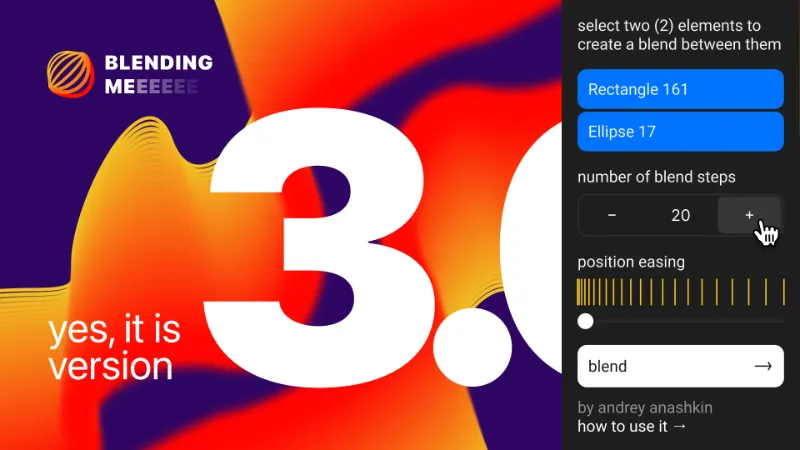

BlendingMe
BlendingMe is a user-friendly plugin that allows you to blend two paths, lines, ellipses, rectangles
by Anashkin Andrey
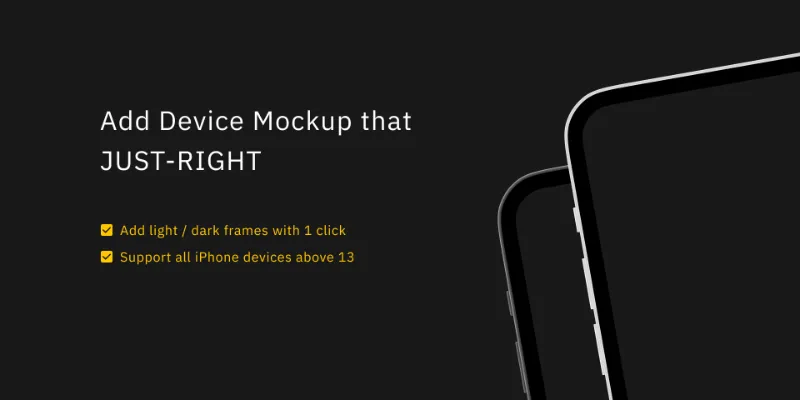

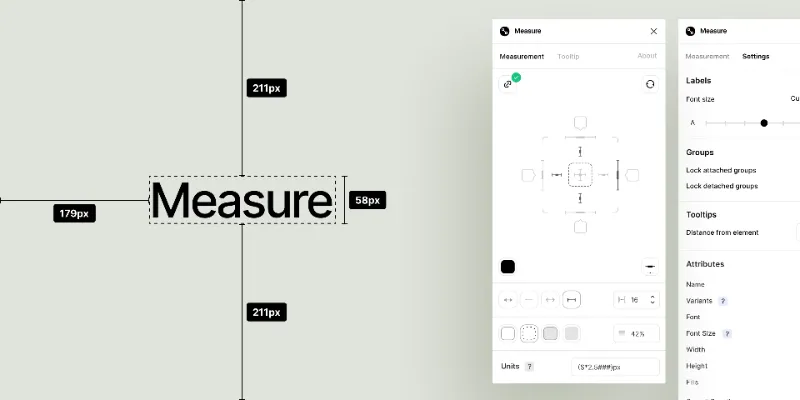

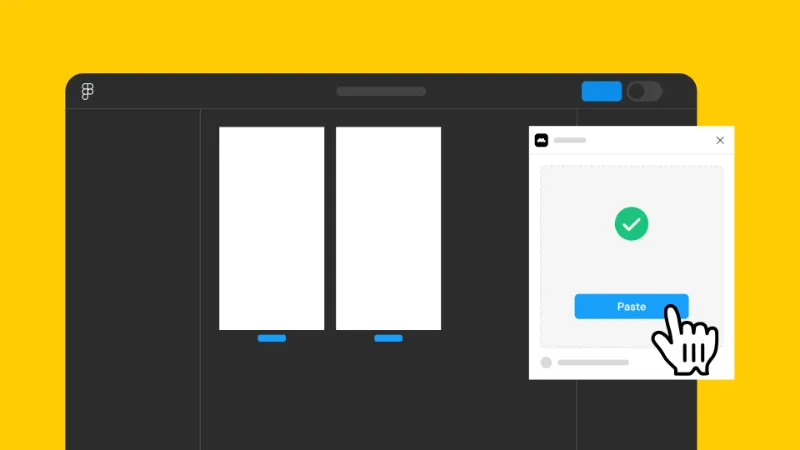

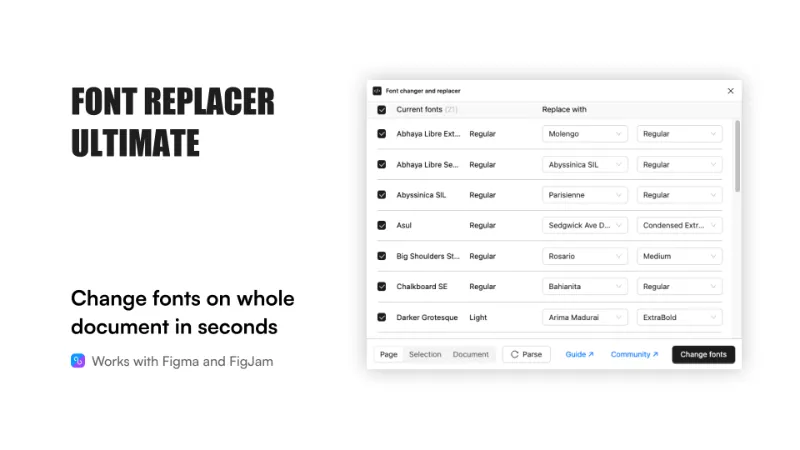

Font Replacer Ultimate 🔁 Swap change and replace fonts
Replace fonts through all pages and artboards
by Ilia Kolebaev


Codia AI Figma to code: Figma to full-stack Web and Mobile apps
Design. Develop. Deliver full-stack Web and Mobile apps
by Codia.AI

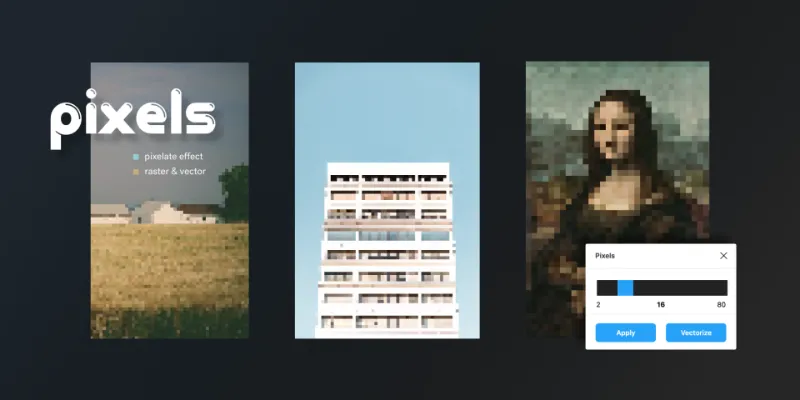
Pixels
Apply Pixelate / 8bit Effect Filter on images. Raster & Vector.________1. How does it work ?• select one (or many) shape with an image fill• use slider to set sample size value (it starts with a 16x16 pixel grid size)• click on "Apply"• a new Pixelate fill is added to your shapetip : you can edit min, max and current Slider values.________2. Vector mode :• select one shape (only) with an image fill• use the slider to set the sample size value• click on "Vectorize"• a new group, filled with rectangles representing the pixels, is added to the pagenote : "Vectorizing" an image can take time, so there is a limit of 20 000 blocks (depending on image and sample size)
by Fabien


Figma to Flutter, HTML, Next.js, and React | DhiWise Design (rocket.new)
Build mobile & web apps at blazing-fast speed with stable code quality and developer experience.
by DhiWise Pvt Ltd


SVG motion
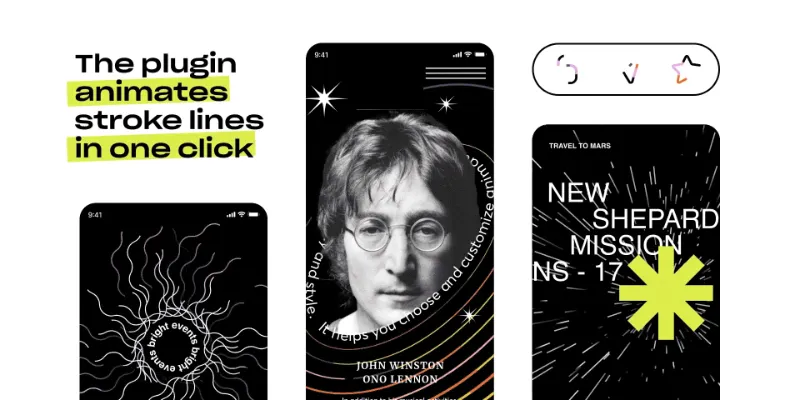
Plugin for Figma which helps to create attractive animations for your product.
by Vladislav

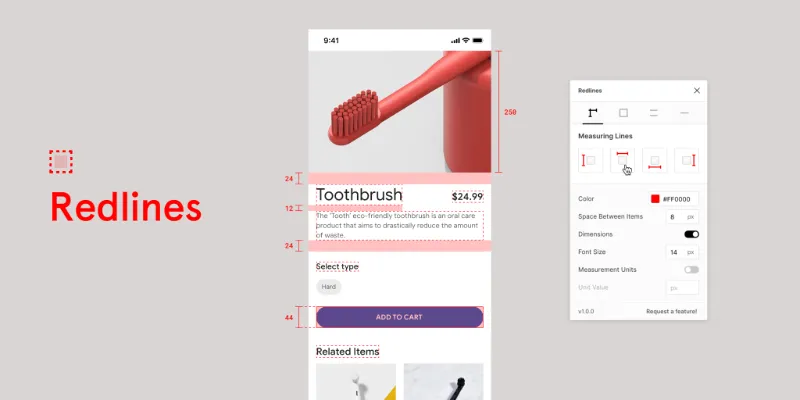

Redlines
As designers, when preparing our work for developer hand-off, there comes a time where we need to annotate our designs with detailed measurements, specs, and intricate redlines—we all know how time-consuming this process can be. Alas! There is light at the end of the tunnel. 🙌 Figma Redlines is the perfect toolkit for any designer looking to save time when preparing designs for developer hand-off. This plugin gives you the ability to create and generate redlines from a selection of objects with ease, while also enabling full control over the style and display of each redline element. Main Features - Quickly measure and plot dimensions of any selected object - A varied selection of outlines and line styles - Full control over the color, spacing, and font size of each redline element - Ability to add units to each redline element—PX, %, DP, etc. - Automatic grouping of redline elements—to help keep things tidy and easy to manage! To use; 1. Select a layer (or multiple) 2. Customize the redline settings (if you want to) 3. Choose a redline option to plot 4. 🕺 If you have any ideas for features or perhaps ways to improve the plugin, feel free to reach out—I would love to hear from you! Oh, and if you've enjoyed the plugin and are feeling generous, you can always... https://www.buymeacoffee.com/4pIjUVg Enjoy!
by Danny Keane
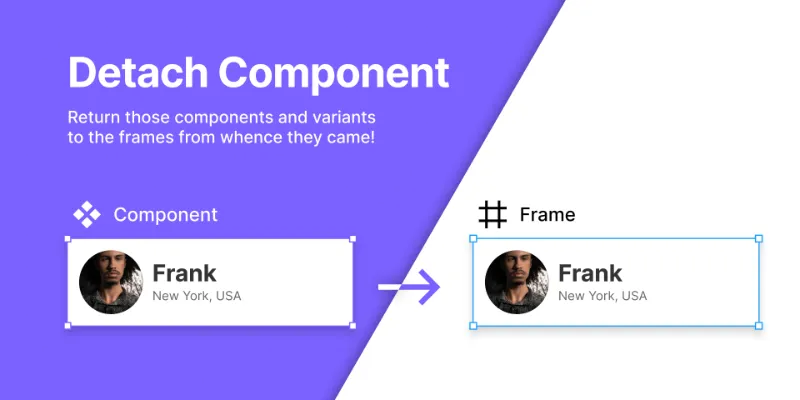

Detach Component
Detach components and variants, just like you detach instances with this simple plugin.Ever been annoyed by the fact that once you create a component or variants, there’s no going back? Select a main component or a set of variants and run this simple plugin to revert them back to a frame in the same way "Detach Instance" does with your instances.Can I detach multiple components or variant sets?You sure can! Select as many as you like and run the plugin.What if the component has instances?Any instances will remain untouched. You will also still be able to right click an instance and go to "Main Component" —> "Restore Main Component" to restore
by Patrick Morgan


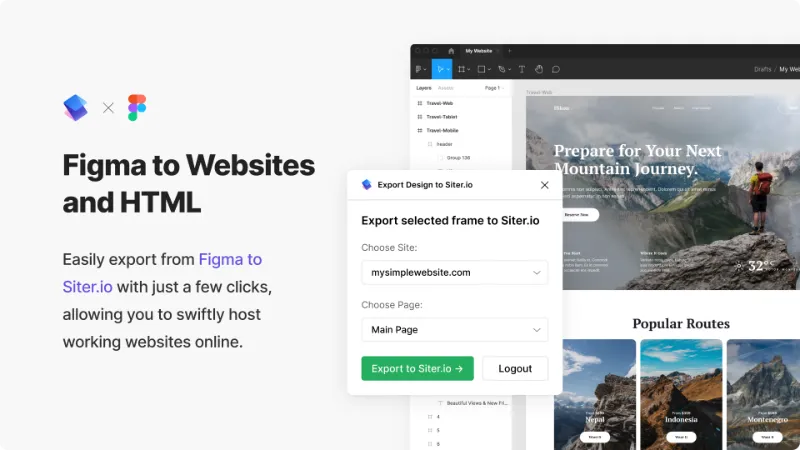

Export Figma to Websites and HTML by Siter.io
Publish Figma designs as websites without the need for coding. Embed HTML code into your website.
by Designmodo
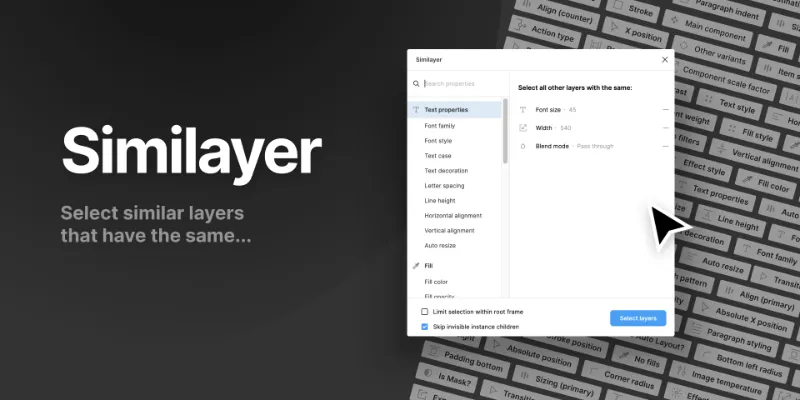

Similayer
This plugin takes Figma’s in-built ‘Select all with...’ command to the next level. 🔥Select similar layers; based on a whole range of properties.Select other layers...After selecting a layer, run this plugin to select all other layers based on specific properties.[NEW] Select within...If you select multiple layers first, you can choose which properties and values to reduce the selection.---A small favour — if you find this plugin helpful, why not support me by Buying me a Coffee---Example use cases:• Selecting all instances of a specific component to swap out for a different one• Changing all layers with a specific Text Style to a new one• Selecting all ‘cards’ with the same corner radius and fill color• etc.Supported propertiesHere's a full list of all the properties that this plugin supports. If there's one missing that you'd love to see. Let me know at david@williames.comComponents:Other component instancesOther component variantsComponent scale factorTextText StyleFont sizeFont familyFont styleText caseText decorationLetter spacingLine heightHorizontal alignmentVertical alignmentsAuto resizeText charactersParagraph styleParagraph indentParagraph spacingFillsFill StyleFill colorFill opacityNo fillsStrokesStroke StyleStroke colorStroke widthStroke opacityStroke positionStroke capStroke joinStroke dash patternNo strokesEffectsEffect StyleEffect radiusShadow colorShadow offsetAuto LayoutHas Auto layout?Layout directionLayout sizing (Primary direction)Layout sizing (Counter direction)Layout alignment (Primary direction)Layout alignment (Counter direction)Item spacingPadding (All)Top paddingRight paddingBottom paddingLeft paddingLayoutSizeWidthHeightPosition (all)X PositionY PositionAbsolute position (all)Absolute X positionAbsolute Y positionRotationCorner radius (all)Top-left radiusTop-right radiusBottom-right radiusBottom-left radiusLayersLayer nameBlend modeLayer opacityLayer typeIs locked?Is mask?Is visible?ImagesImage filters (all)Image exposureImage contrastImage saturationImage temperatureImage tintImage highlightsImage shadowsExport settingsExport settings (all)Export formatExport suffixExport constraintExport contents only?PrototypePrototype reactions (all)Action destinationAction typeNavigation typeTrigger typePrototype transition (all)Transition typeTransition easingTransition durationTransition direction
by Dave

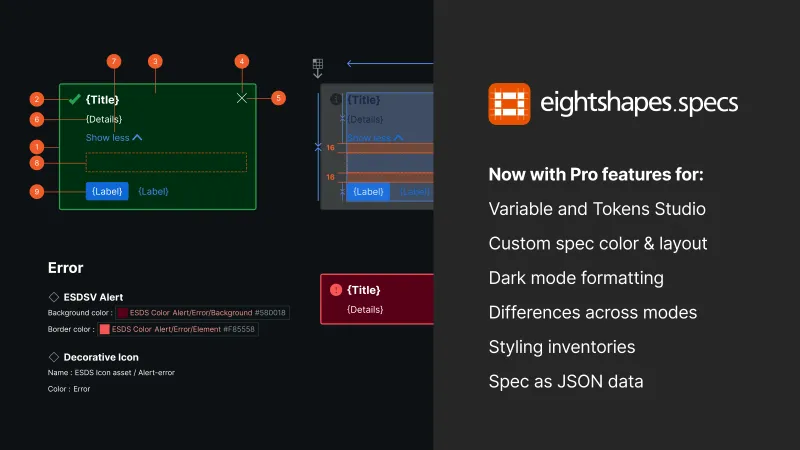

Specs Classic
Generate component specs including anatomy, props and layout & spacing
by Directed Edges Plugins
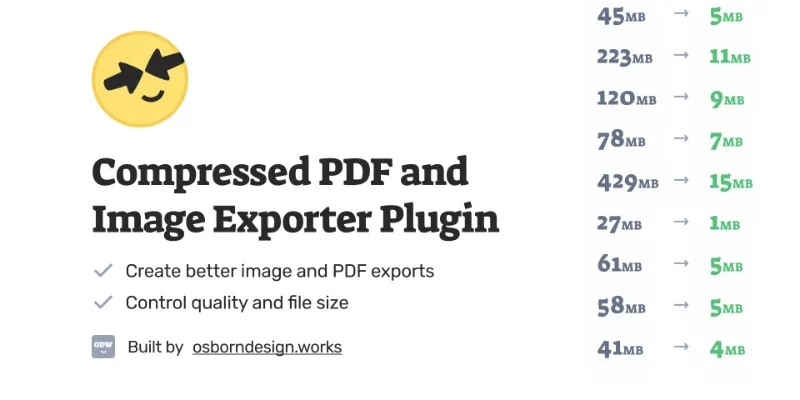

Compressed PDF and Image Exporter (PDF, PNG, JPG, WebP)
Export compressed PDFs and images at efficient file sizes from Figma while controlling for quality.
by Taylor Osborn
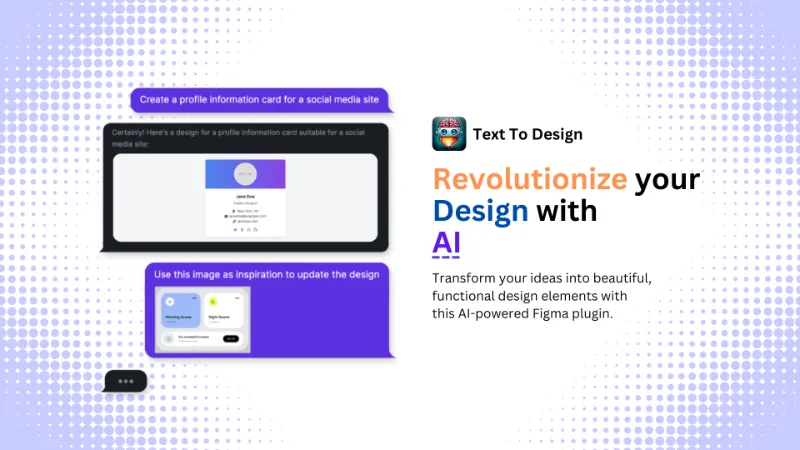

Text to Design - AI Assistant
Turn your ideas or images into Figma designs with AI.
by Ollie Martynov

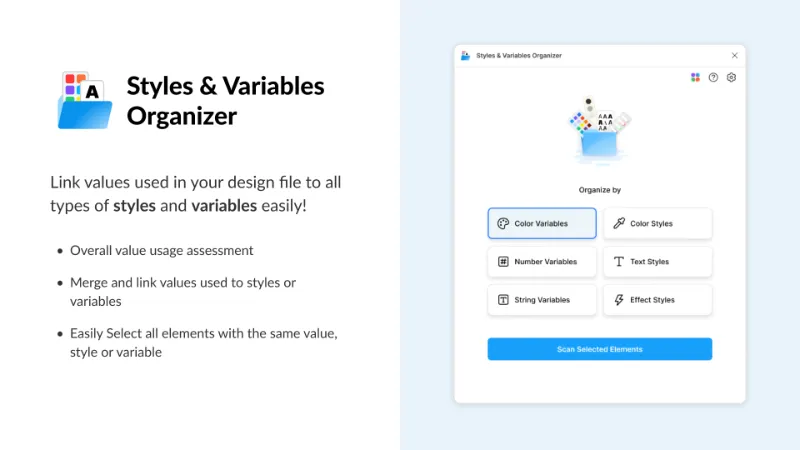

Styles & Variables Organizer
Apply styles and variables to all your designs with one click!
by Chenmu Wu
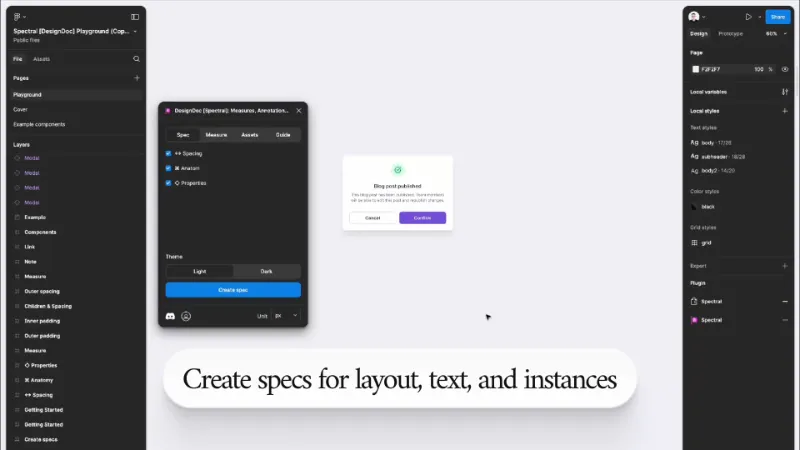

DesignDoc [Spectral]: Measures, Annotations, and Handoff
📐 Effortlessly hand off your Figma designs to the development team
by Marka Plugin Dev
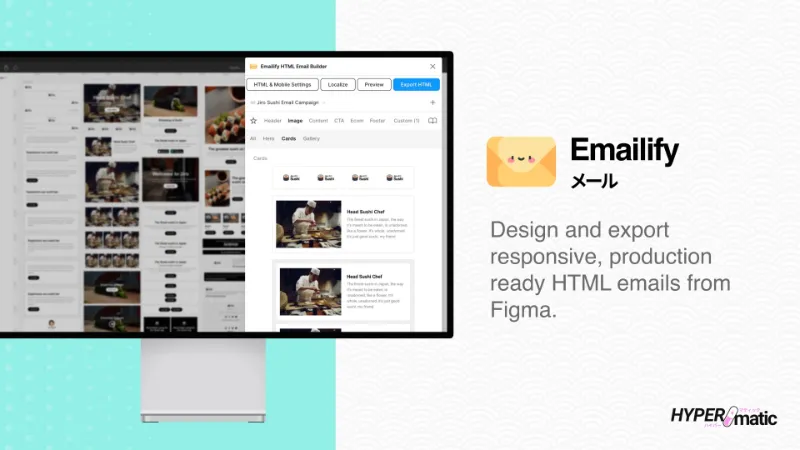

Emailify HTML Email Builder
Design and export responsive, production ready HTML emails from Figma
by Hypermatic
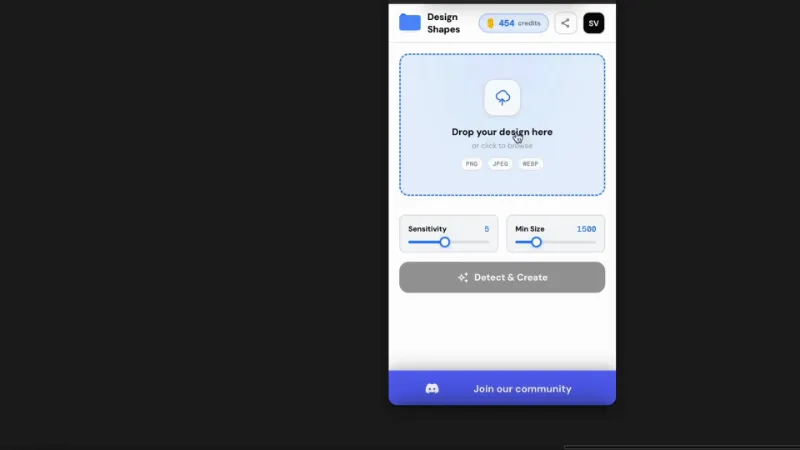

Image To Figma Design
Convert, edit, iterate - for free: Screenshot-to-Figma made easy
by Crafttor

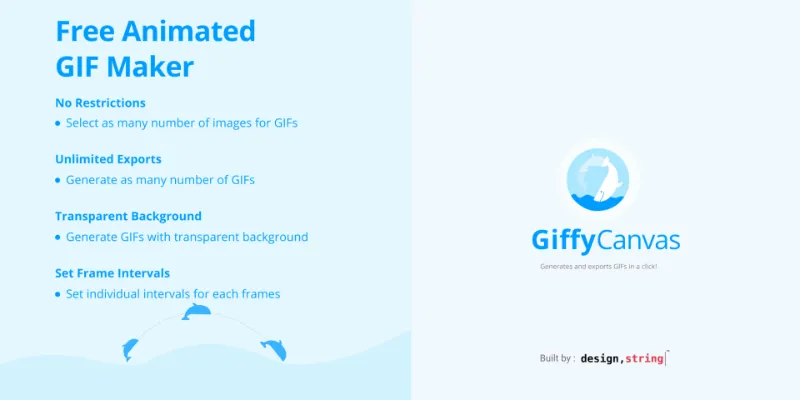

GiffyCanvas
Create your own high quality animated GIFs for Free.Unlimited Exports, Transparent Backgrounds, No Restrictions,.FEATURES:- No RestrictionsUser can select as many number of images they want to create a GIF- Unlimited ExportsUser can generate as many number of GIFs they want for free- Transparent BackgroundUser can generate GIFs with transparent backgrounds- Set Frame IntervalsUser can set frame interval to each frames in GIFsHOW TO USE:1. Post installing, select at least two layers to create a GIF image.2. Select interval, height, and width of GIF image. Click on ‘Preview’ to see the GIF image.3. Click on ‘Download’ button to download GIF image.Have fun 🥳Your feedback helps us to come up with more exciting features. Drop us a note at giffycanvas@designstring.com
by Yash Belavadi
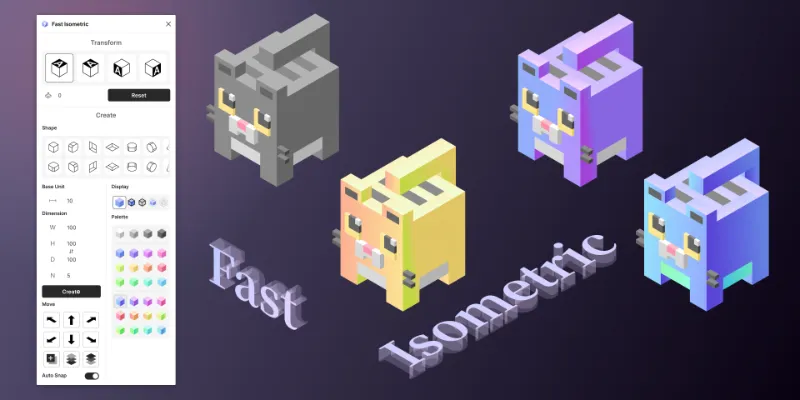

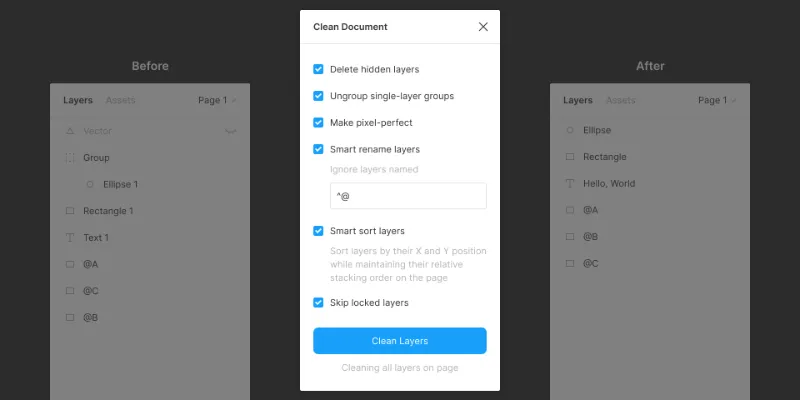

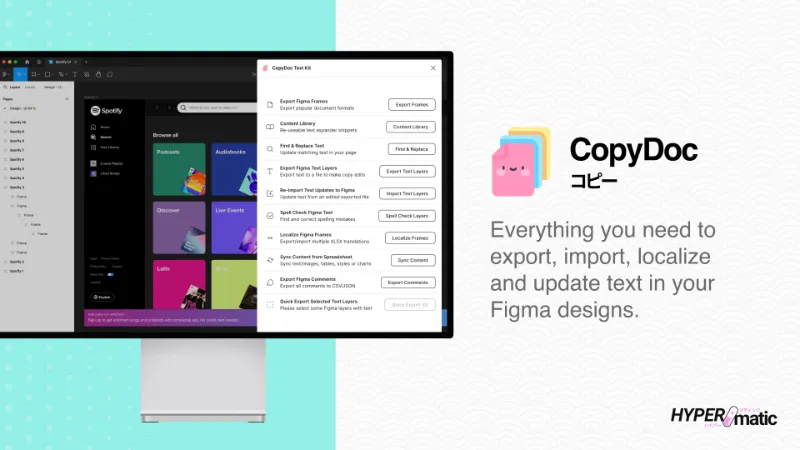

CopyDoc Text Kit
Everything you need to easily export, import, localize, spell check, and update Figma text
by Hypermatic
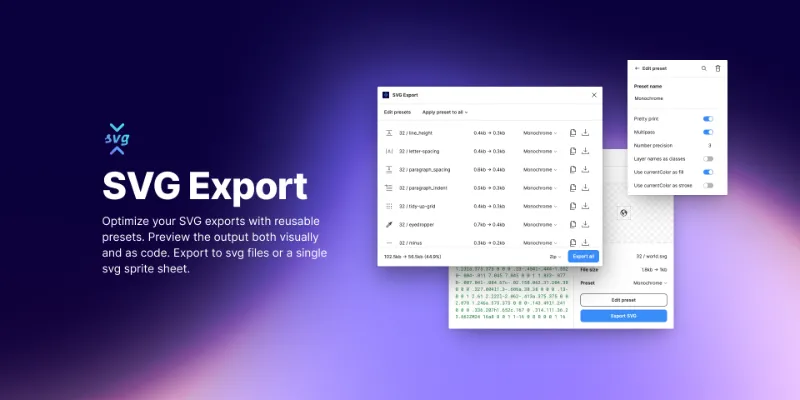

SVG Export
Export tiny SVG files and control every aspect of how they're exported with presets. Powered by svgo
by Hamish
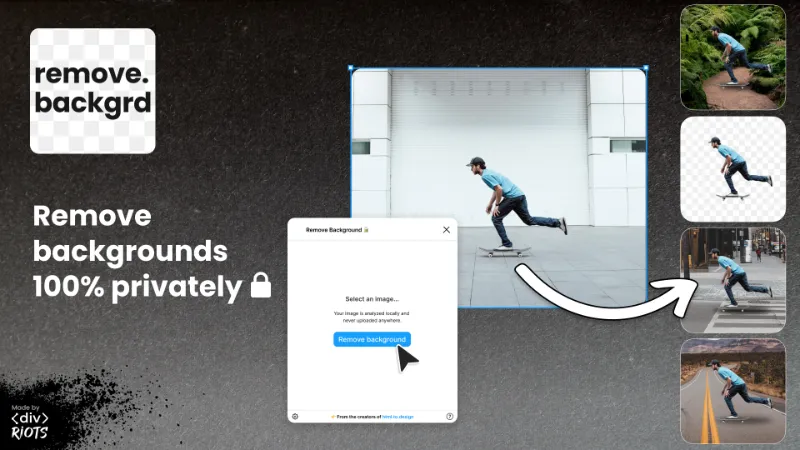

Remove Background (Privacy-First) — by ‹div›RIOTS
Remove background from images 100% privately
by divRIOTS




BENZIN - remove background for free
It's FREE now! Remove background from images automatically. Just by one click and few seconds. Save your time!Learn more about BENZIN at https://benzin.io/#about-serviceNOTE: You will need a benzin.io account for this plugin.See you!
by Kirill Kulakov


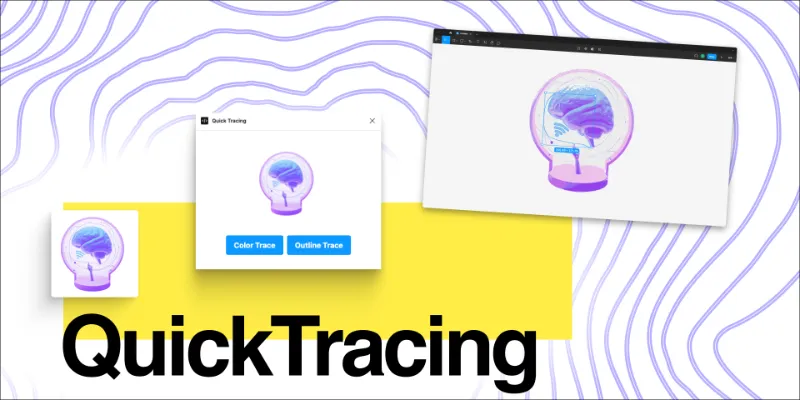

Quick Tracing
Convert any selection(Layer, Frame, Image … ) into a vector. It can even keep its colour. Tips to be tracing like a pro:Resolution matters, a highly pixelated image will mean that the pixel will get picked up by the tracing algorithm resulting in wavy edges.Selecting the Outline Trace will give you a higher level of detail, but the output will be in black and white.When selecting an image layer, Quick Tracing will use the original image; if you trace an image that has been cropped, or altered, just frame it and run the plugin on the parent frame.If you have a big image, over 2M pixels, it will get downsized before tracing. You can frame the selection, scale it down with the scale tool, and then run the plugin on the parent frame.
by Venturi Explore
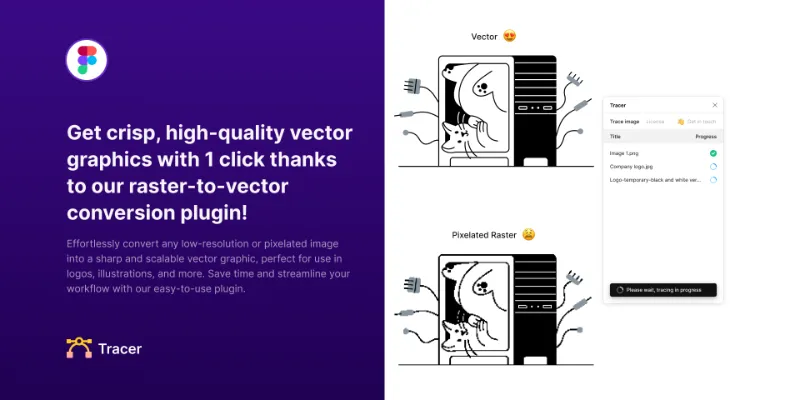

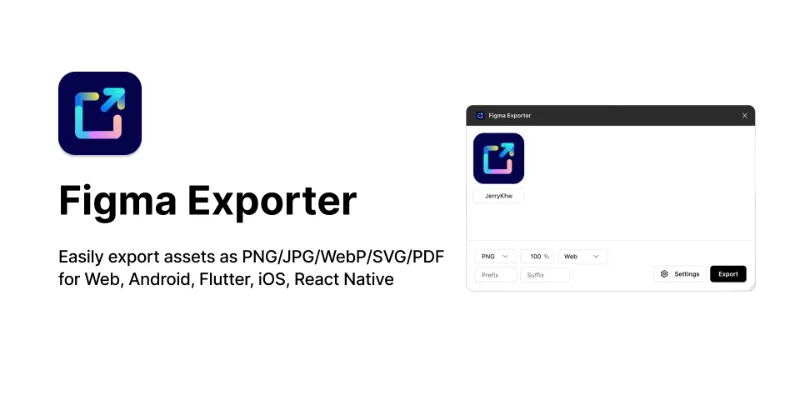

Figma Exporter
Easily export assets as PNG/JPG/WebP/SVG/PDF for Web, Android, Flutter, iOS, React Native
by JerryKhw

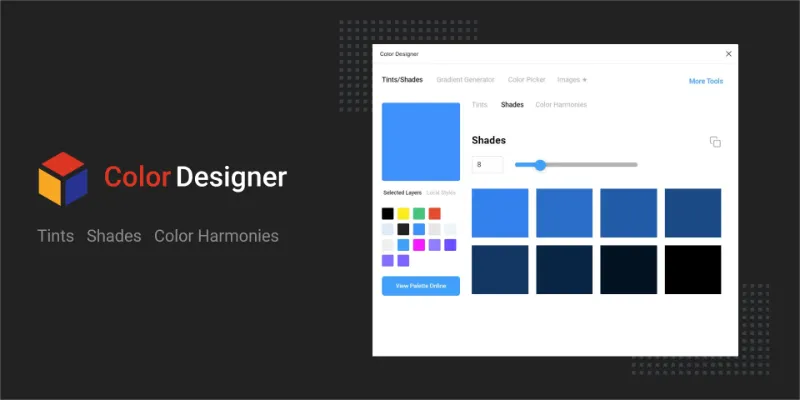

Color Designer
The plugin generates shades, tints, and color harmonies based on select layers or local styles. You can also create a stepped gradient between two colors.Main Features:Generate tints, shades, and color harmoniesThe plugin is integrated with user selection and local stylesGradient GeneratorEasy to useThe plugin support only solid fills.Source Code: https://github.com/cyanpix/Colordesigner-FigmaNote:Do Not try to select too many layers. It may freeze Figma.
by Wojciech Banaś
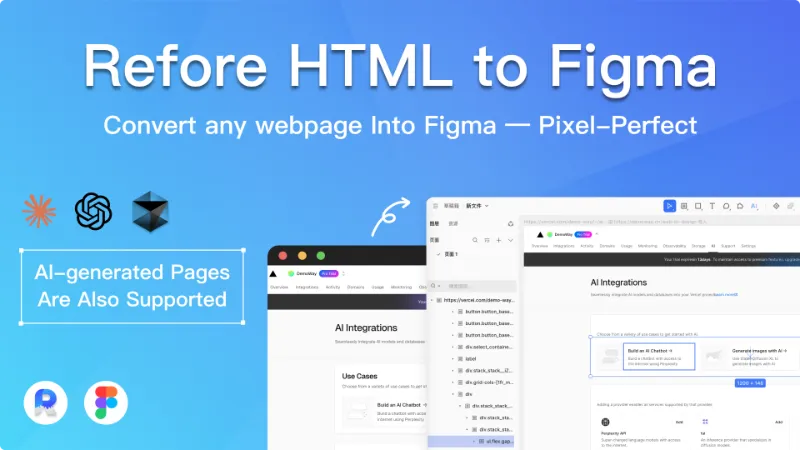

HTML to Figma - by Refore - Convert Any Web into Figma (Support AI-Generated Page)
Transform any webpages into fully editable Figma design, AI-Generated page also support
by ReforeAI


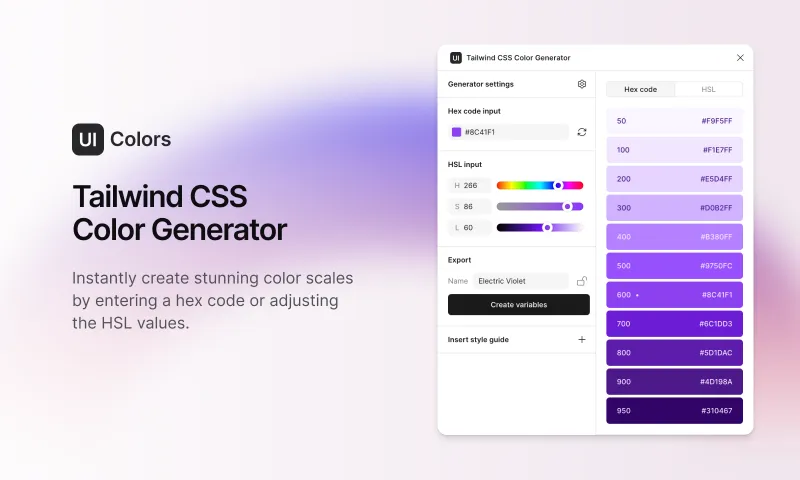

Tailwind CSS Color Generator
Create custom Tailwind CSS color scales based on a given Hex code or HSL color
by Erik de Vries
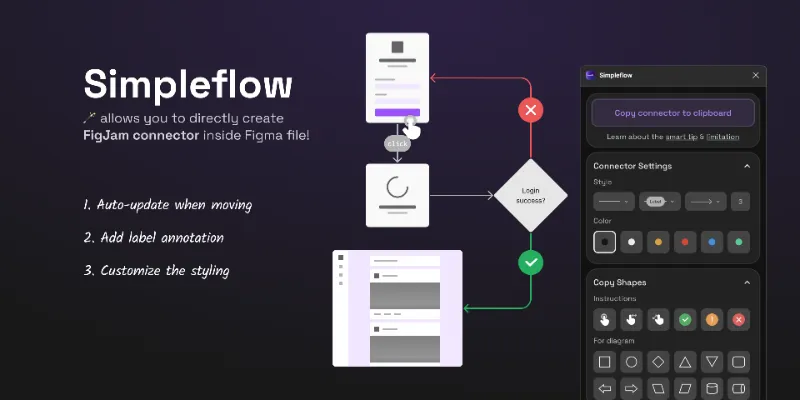

Simpleflow — FigJam Connectors everywhere
🪄 Create flowcharts in Figma with native FigJam connectors — stay perfectly in sync as you design!
by Lichin

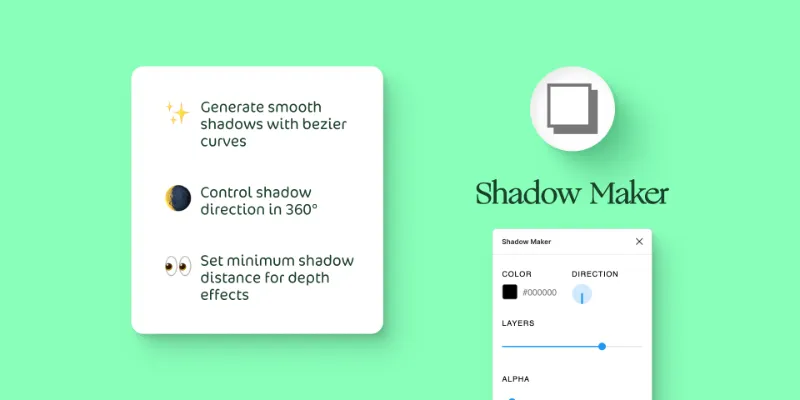

Shadow Maker
Generate beautiful, smooth shadows with direction, color, and opacity controls.The default shadows are jarring, and creating a smooth shadow by hand can be time-consuming and difficult.Shadow Maker makes generating smooth shadows easy.Features:Edit shadow color, direction, opacity, blur, and moreDefault simplified editor modeAdvanced mode with bezier curve editingBugs, questions, or feedback? --> https://twitter.com/GuamHat
by Gautham 🌶
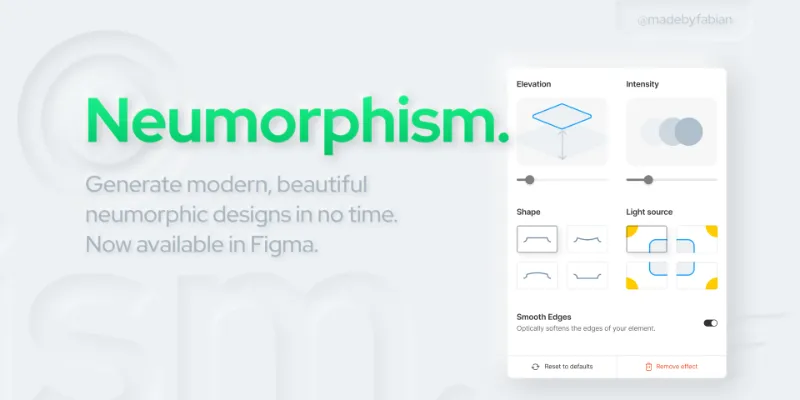

Neumorphism
Create beautiful neumorphistic designs in just a few seconds. Just select anything you would like to "neumorph", open the plugin and boom. It adds shadows and gradient fills to your selection, which you can customize to your needs.Some cool live-examples of neumorphism on the web:productdesignresources.comicons.theforgesmith.comshape.soWhat is neumorphism?It's a UI trend which is using multiple shadows and gradients to "fake" light and to bring back a more natural and realistic look and feel. Kind of like skeuomorphism in iOS back in 2007. Read more about it here: https://uxdesign.cc/neumorphism-in-user-interfaces-b47cef3bf3a6A few tips how to create beautiful neumorphic designs:The background layer and the layer you are "neumorphing" should have the same color.If you neumorph' text, be sure to also have it the same color, open the plugin, and when you're done, you can change the text color to a darker one, for better readability.Neumorphism doesn't work on pure white or pure black, because it adds shadows that are darker / brighter than the background/current selection fill. If you use pure white or black, it will miss one of the shadows and it won't feel "neumorphistic" anymore. I'll suggest to take a kind of bluish tint of white / black.—Thank you very much for the kind help for the color calculation-algorithm from Adam, he built the site https://neumorphism.io/ on which you can generate neumorphic CSS shadows. Check it out! 🤗Feature requests? 😊 Questions?Just hit me on Twitter (@madebyfabian), via mail (hello@madebyfabian.com) or via an Issue on GitHub.—Made with ❤️ by Fabian B. in Nuremberg, Germany. Want to support me? Would appreciate that very much! http://buymeacoff.ee/madebyfabian
by Fabian B.

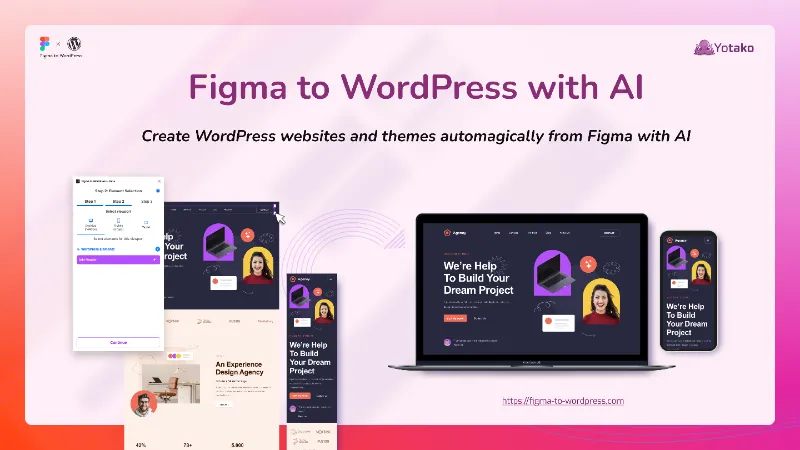

Figma to WordPress
Figma to WordPress! Create WordPress websites online and download WordPress themes in a few clicks!
by Yotako

Easing Gradients
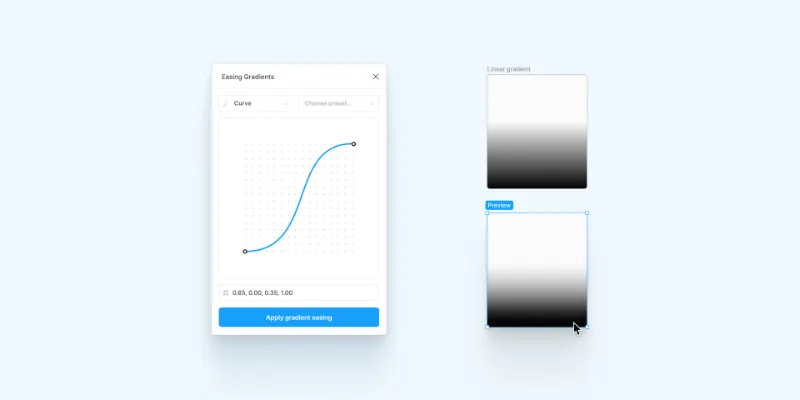
Create smooth gradient transitions with cubic easing functions ✨Allows smoothing of gradient fills in Figma using custom cubic-bézier or step easing functions (think of transition easing). This is especially useful when dealing with transparent gradients but also allows for creative exploration.UsageThe plugin is 'gradient-agnostic' in that sense that it doesn't care about the type (linear, radial etc.) and orientation of the gradient.It takes the first and last color stop as parameters and eases the gradient with the given easing function value. One caveat with this is that all other color steps in between are discarded.The plugin is open source and MIT licensed.This plugin is based on the great work of Andreas Larsen.
by Alex Widua

Illustrator Importer
Import adobe illustrator (.ai) files directly into Figma & FigJam
by Figmats
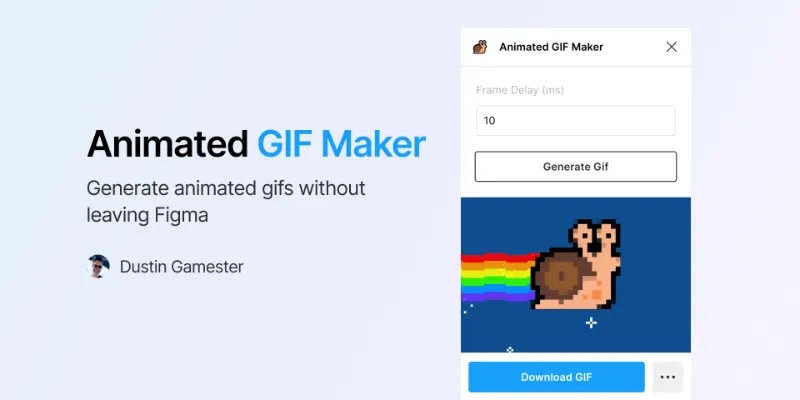

Animated Gif Maker
Generate and export animaged gifs without leaving Figma
by Dustin Gamester


Heroicons
A set of free MIT-licensed high-quality SVG icons for you to use in your web projects. Icons by https://github.com/tailwindlabs Suggestions? Please file an issue on GitHub: https://github.com/deebov/heroicons-figma-plugin
by Dilshod Turobov

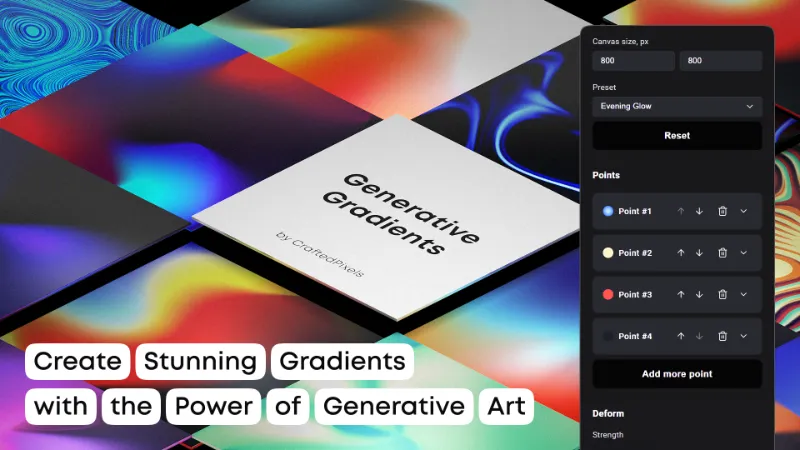

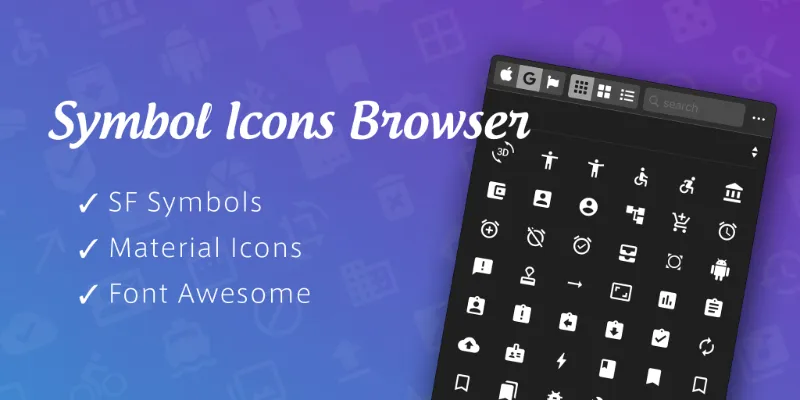

Symbol Icons Browser
Symbol Icons Browser makes it easy to browse and copy symbols from SF Symbols, Material Icons font and Font Awesome. # Ready to use To use this plugin, Please install San Francisco font Material Icons font (.ttf) and Font Awesome (.otf). San Francisco font: https://developer.apple.com/fonts/ Material Icons font (.ttf): https://github.com/jossef/material-design-icons-iconfont Font Awesome (.otf): https://github.com/FortAwesome/Font-Awesome # Usage 1. Find the symbol you want to use 2. Click the symbol # Click Options - Copy: copy symbol glyph to clipboard - Copy&Paste: copy and paste symbol glyph to selected text objects - Create: create new symbol glyph as a text object on the canvas
by Kaz Motoyama @kudakurage

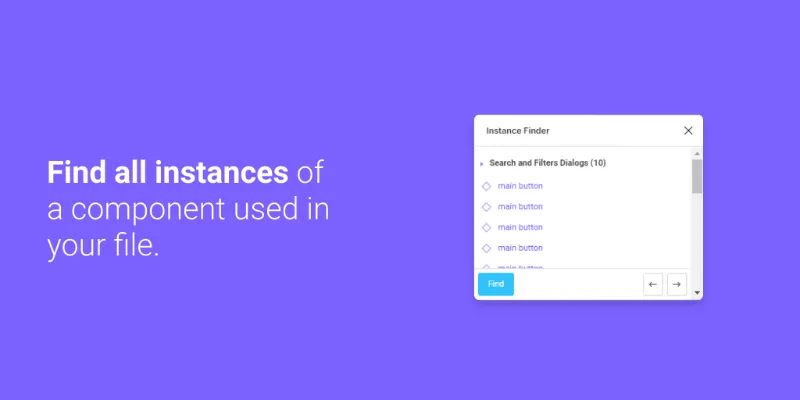

Instance Finder
Find all Instances of a Component used in your file.Select a single Instance or Component, and the plugin will search all pages and all frames and create a list of all Instances used.The list is split up into seperate pages for easy navigation. Clicking on any item will zoom in on the Instance.💡 Tip: Use the left and right arrow keys to navigate between instances.
by Idan Arbel



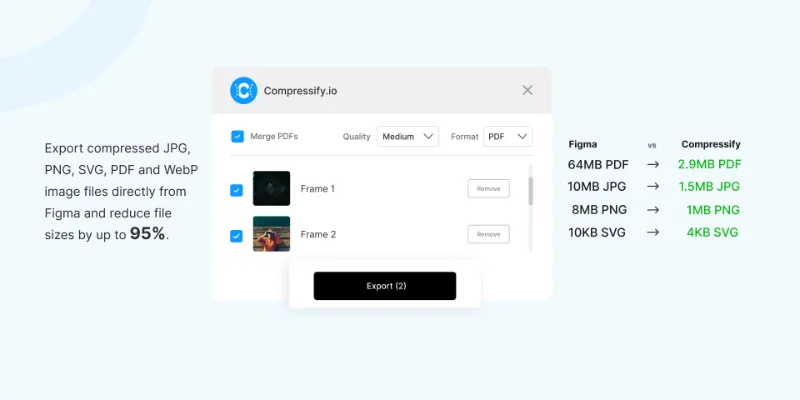

Free Compressed PDF and Image Exporter (PDF, PNG, JPG, WebP and SVG)
Export compressed PNG, PDF, JPG, SVG, WebP & merge multiple frames into one PDF—fast & easy! 🚀
by Compressify


Figma to React from Quest
Quest AI - Easiest way to build React Apps using AI
by QuestAI Support

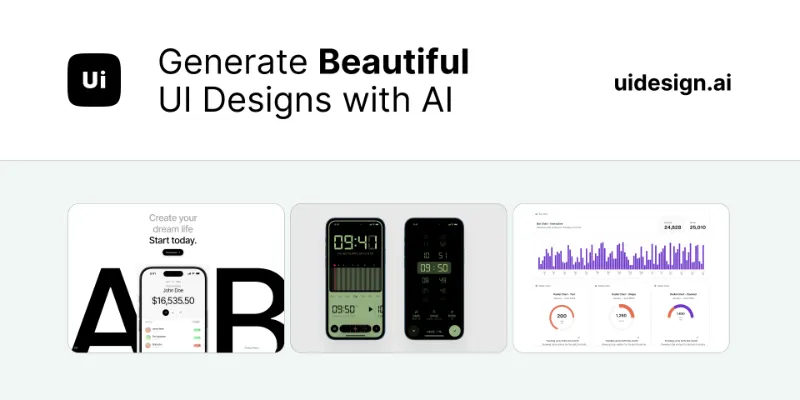

Text to Design AI UI Copilot - uidesign.ai
Watch AI design your prompt in real time. You can also use this plugin to update existing artboards
by -
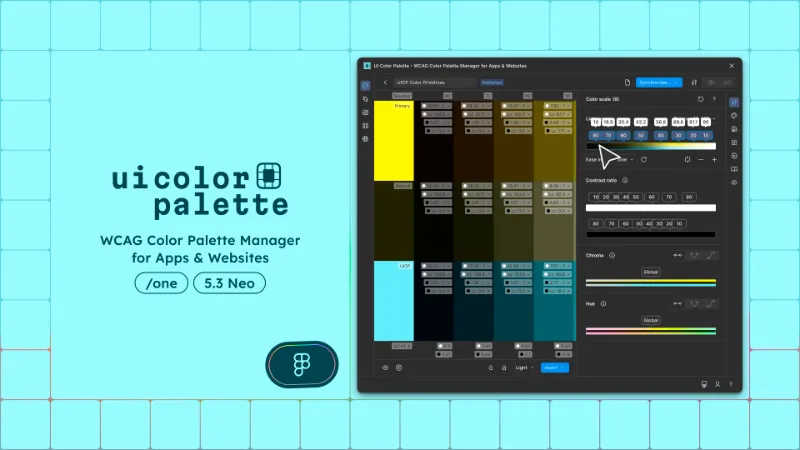

UI Color Palette /one・WCAG Color Palette Manager for Apps & Websites
Color Palettes that meet WCAG Guidelines and Operations (tailored for individuals)
by Aurélien Grimaud
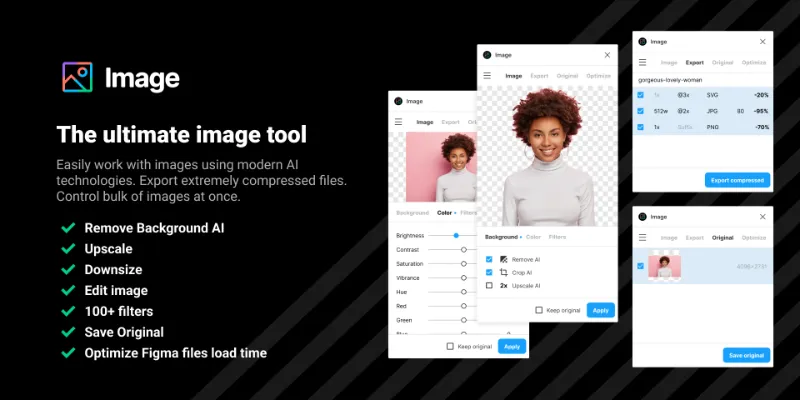

Image - Remove Background, Upscale, Downsize, Compress, Edit image
The ultimate tool for image processing
by Pavel Babkin
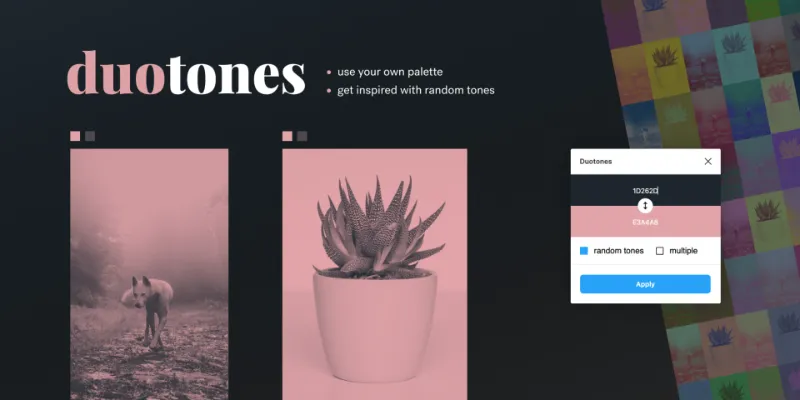

Duotones
Apply Duotone Effect Filter on images. Simple, accurate & fast.________1. How does it work ?• select one (or many) shape with an image fill• click on "Apply"• a new duotone fill is added to your shape________2. Colors :You can change colors using the colors inputs, by pasting/typing hex values, or selecting 1 or 2 rectangle shapes with fill color and focusing the inputs.tip : click on the arrow button to invert tones________3. Random tones :• select one (or many) shape with an image fill• select "random" then "Apply"• click on "Apply" again for more randomnesstip : the "multiple" option creates a row of 10 random duotones (only works if your shape is directly on the main page)credits : inspired by Matt Kandler
by Fabien
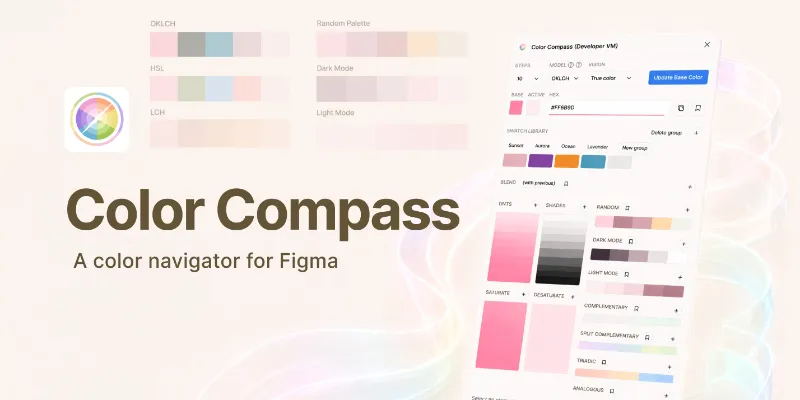

Color Compass
Quickly navigate the color spectrum with designer-focused accuracy.
by Jaclyn Tan


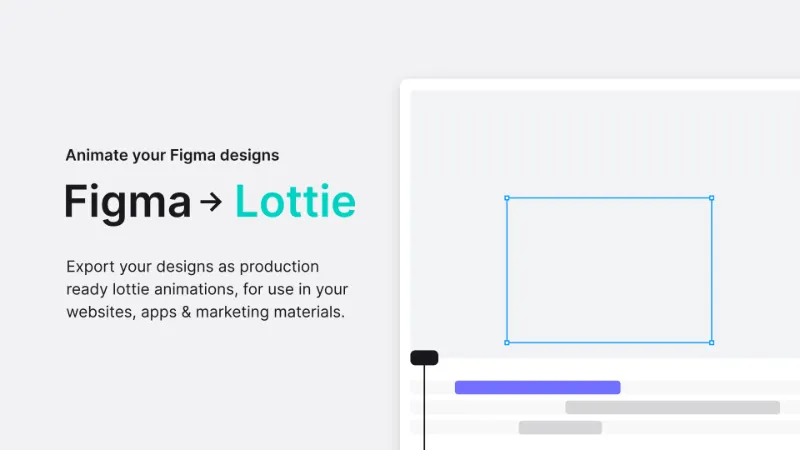

Lottielab - Figma to Lottie Animation
Animate your Figma designs, add Interactivity and export to Lottie, GIF or mp4.
by Alistair Thomson


Visual Mockups - Devices & Branding Mockups
Various mockups and customized angles. Built to transform your design into realistic 3D mockups
by Visualtap Studio
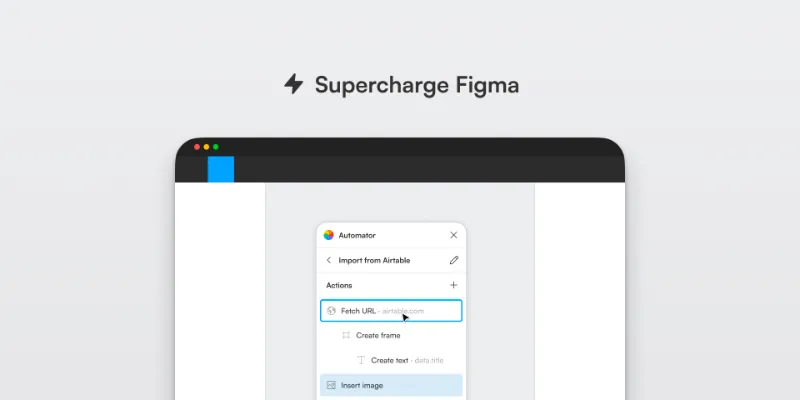

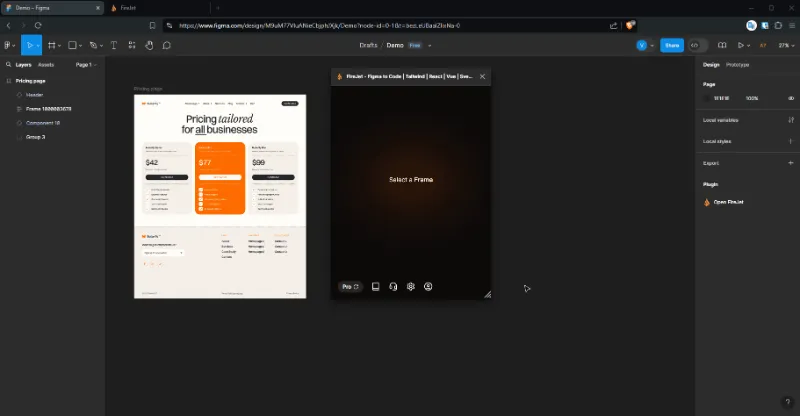

FireJet - Export Figma Design to Code | Tailwind | React | Vue | Svelte | HTML | TypeScript
Export Figma to Code in One Click
by firejet
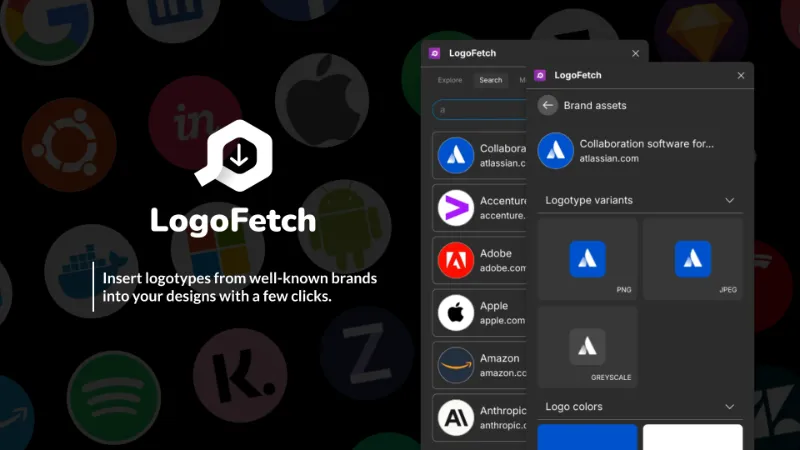

LogoFetch
Instantly find and insert brand logos and colors directly into your Figma designs with LogoFetch!
by Richard Wålander
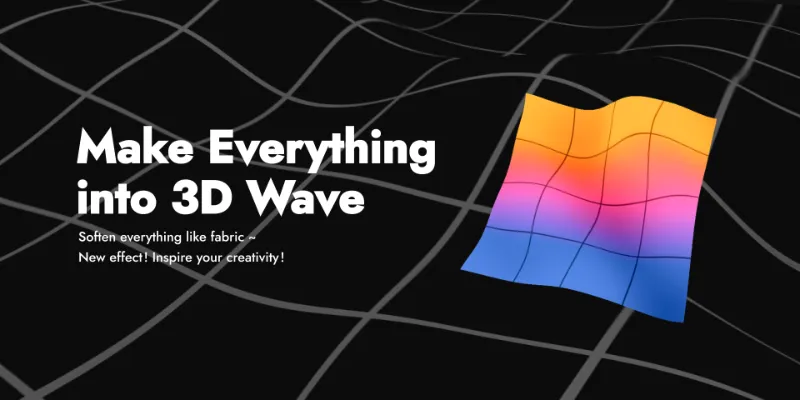
3D Wave: Soften everything like fabric
New Effect with Figma!Make Everything into 3D Wave!Soften everything like fabric~Just inspire your creativity!Any questions or suggestions, contact me: nowork.app@gmail.com
by NOWORK


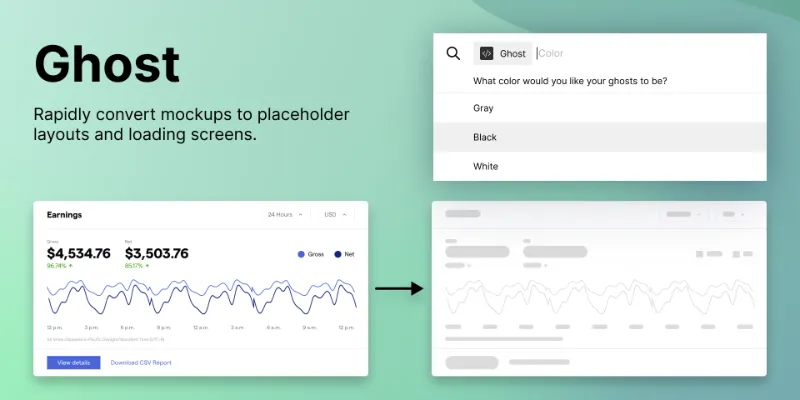

Ghost
Ghost is a lightweight plugin that converts high fidelity mockups to loading or “skeleton” screens.
by Christopher Kark
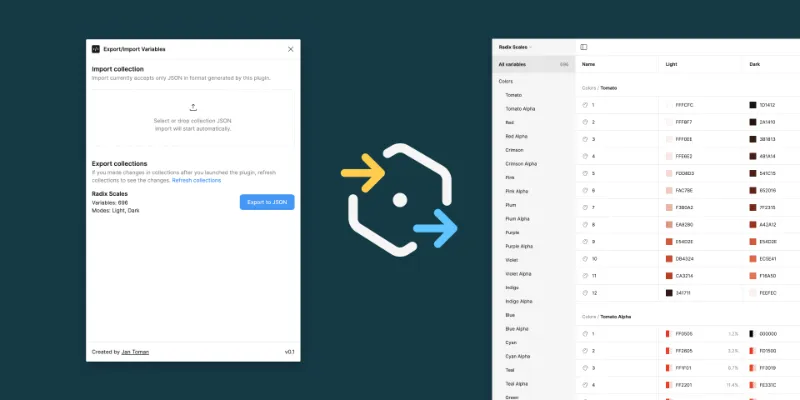

Export/Import Variables
Export variables from one file and import them to another. Supports modes, references, and scopes.
by Honza Toman
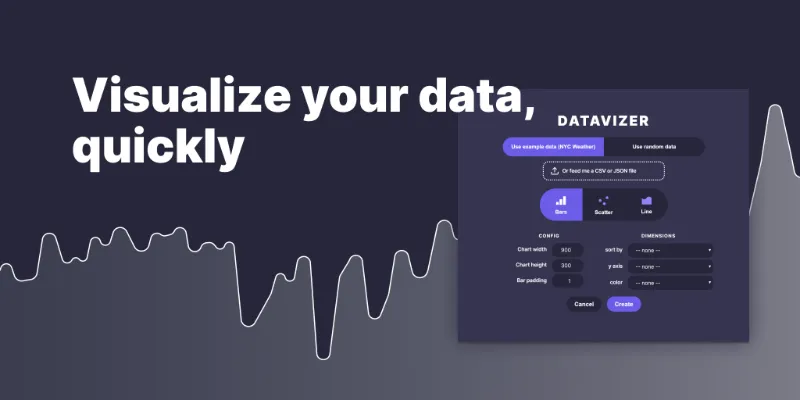

Datavizer
Create a bar chart, scatter plot, or line chart easily with your own data! Or use a random set of data to quickly create shapes or dummy data (for example, sparklines for a dashboard mockup). When you upload your own data (CSV or JSON file), we'll grab any numeric keys and allow you to choose one for each relevant dimensions. Feel free to send me requests & feedback.
by Amelia Wattenberger 👋